
How to Make Fixed Headers in EverWeb
July 23rd, 2015EverWeb 1.8 has a host of new features that give you more design flexibility than ever. In the example below, we are going to use a combination of three of these new features – ‘Always on Top’, ‘Fixed Position’ and ‘Full Width’ – to create a fixed header. With a fixed header your web page contents slide under the the ‘fixed’ header as you scroll up and down the page.
In this example, we will create a Master Page using the Spa template from EverWeb’s template library. The Master Page can then be applied to any web page in your website project.
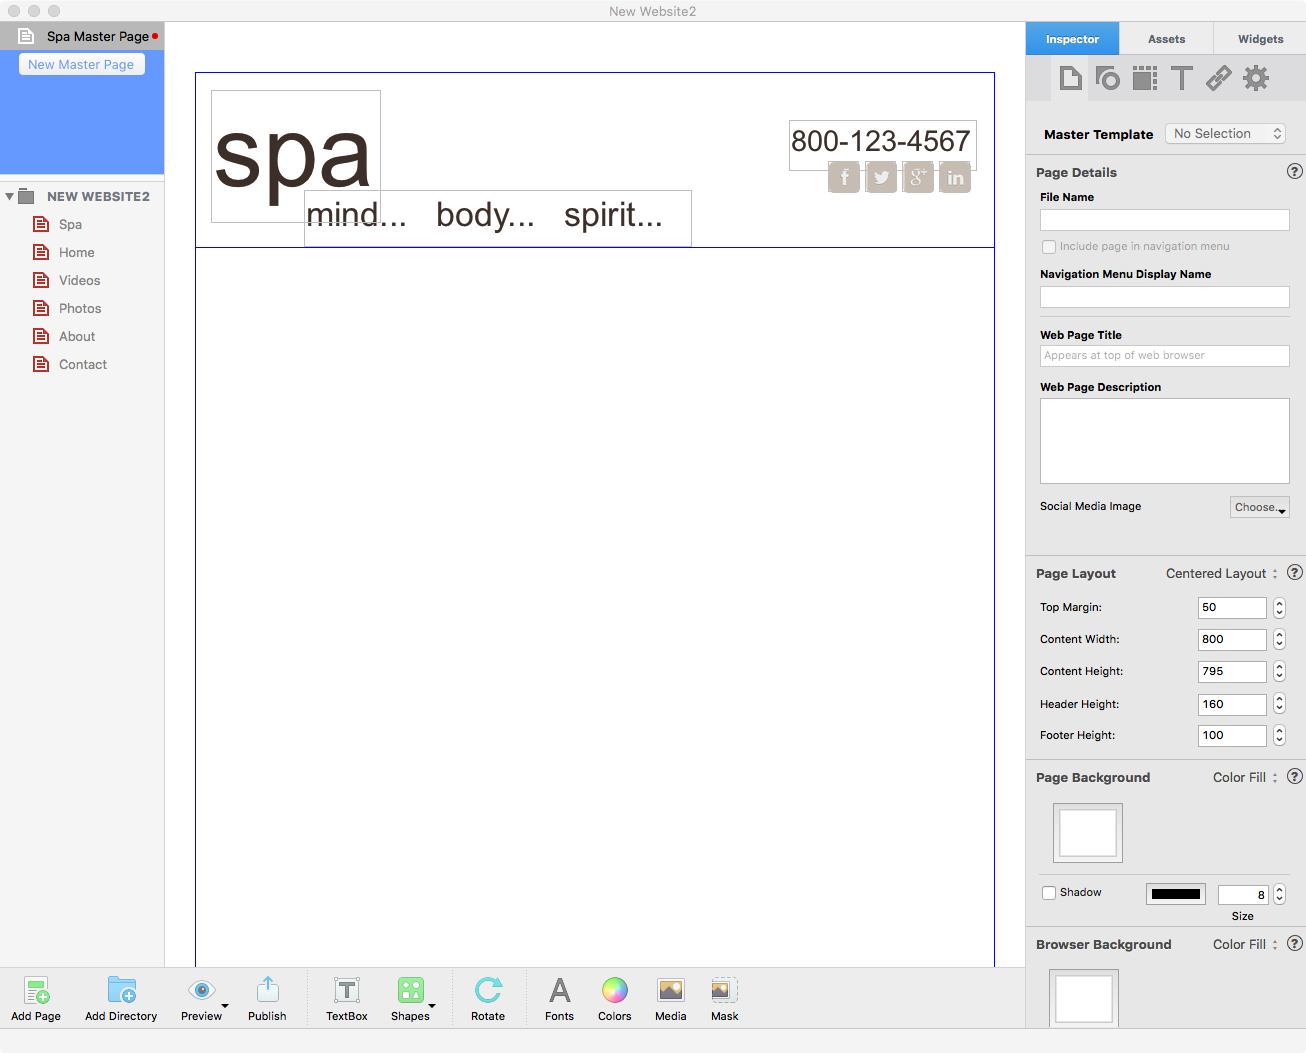
- To start, add a new Master Page. Click on the ‘New Master Page’ button or select File-> New Master Page…’ from the menu. This example uses the ‘Home’ template of the Spa theme. Once you have created the Master Page, double click on its name and over type it with ‘Spa Master Page’.
- In the Page Inspector, set the ’Header Height’ to 160.
- As this is a Master Page, remove any objects that are in the body of the page. Your page should look similar to the screenshot below.
- To add a Navigation Menu to the header, just drag and drop the Navigation Menu Widget in to the Header section. Place, size and style all the objects that are in the header as desired such as shown below.
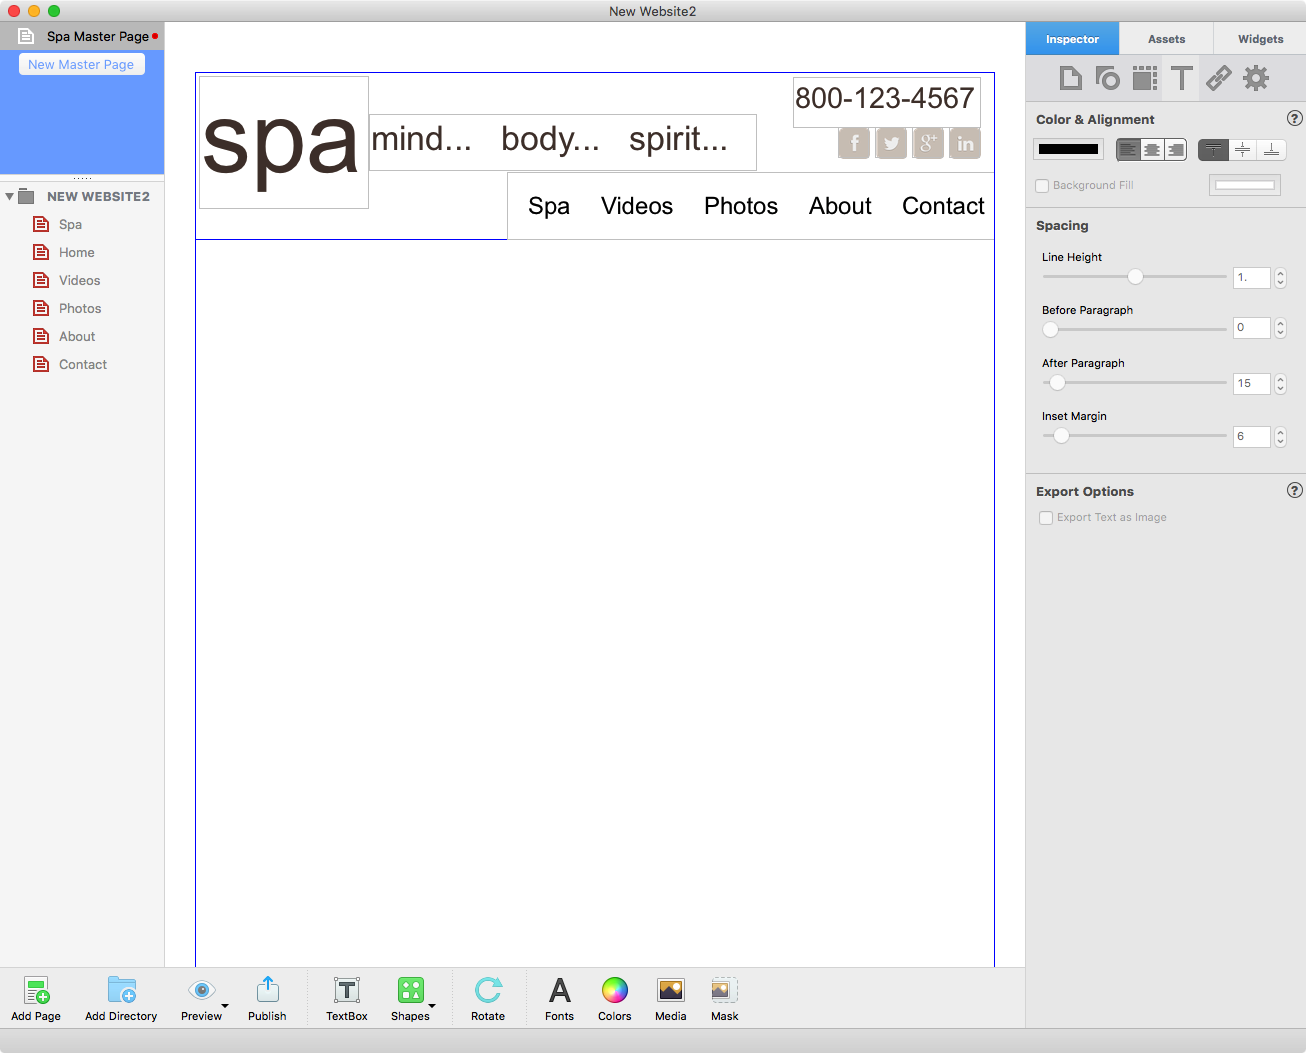
- Select all the objects in the header and then tick the checkbox ‘Fixed Position’ in the Metrics Inspector This will keep the objects in place when you scroll up and down the web page.
- Use the Shapes button in the Toolbar to add a rectangle to the page. In the Metrics Inspector tick the checkboxes ‘Full Width’ and ‘Fixed Position’. The rectangle will be stretched across the full width of the screen.
- Move the rectangle to the top of the the page and set the height of the rectangle so that it is meets the bottom border of the header as shown below. Remember that you may need to hold the Cmd key down to move the rectangle from the body of the page into the header.
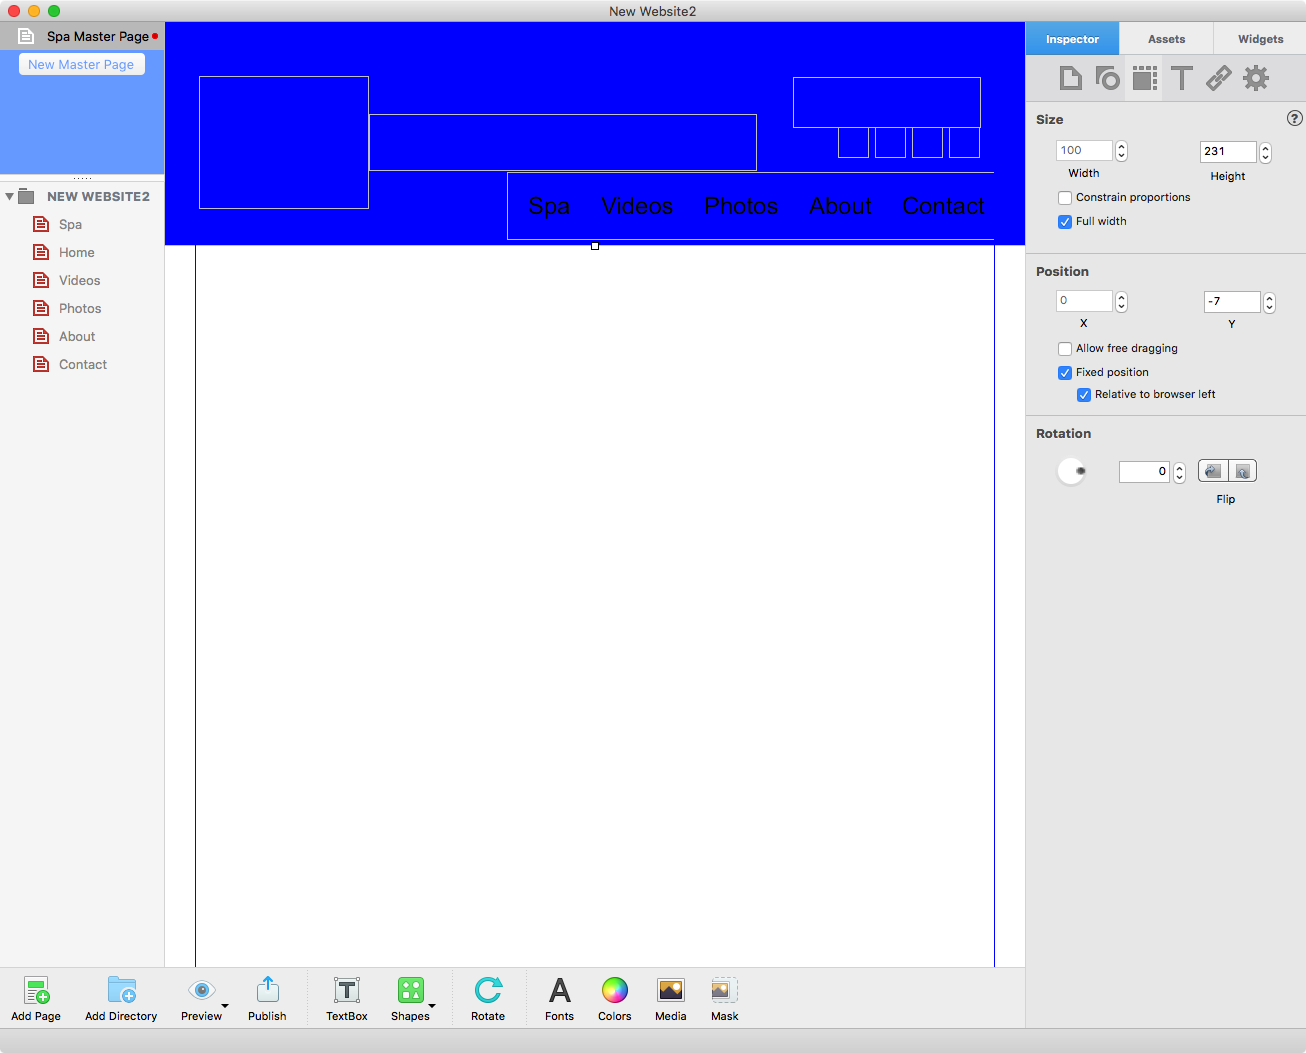
- As the rectangle now obscures the other objects in the header (as in the above screenshot) select Arrange-> Send to Back from the menu to place it behind all of the header objects.
- With the rectangle now in place change it’s color as desired using the Fill section of the Shapes Options.
- To complete the Master Page, select all of the objects in the header. Select Arrange-> Always on Top from the menu.The reason for using ‘Always on Top’ is that Master Page objects normally lie underneath the contents of web pages. In our example, however, we need the Master Page header objects to be on top so that web page contents can slide beneath them. ‘Always on Top’ is how we can force objects to be on top of everything else in order to achieve the effect we want.
- Once your Master Page is complete, create a web page and attach the Master Template ‘Spa Master Page’ using the ‘Master Template’ dialog box in the Page Inspector. Add the content that you want to include in the body of the page. As you scroll up and down the body contents, the contents will slide under the header.
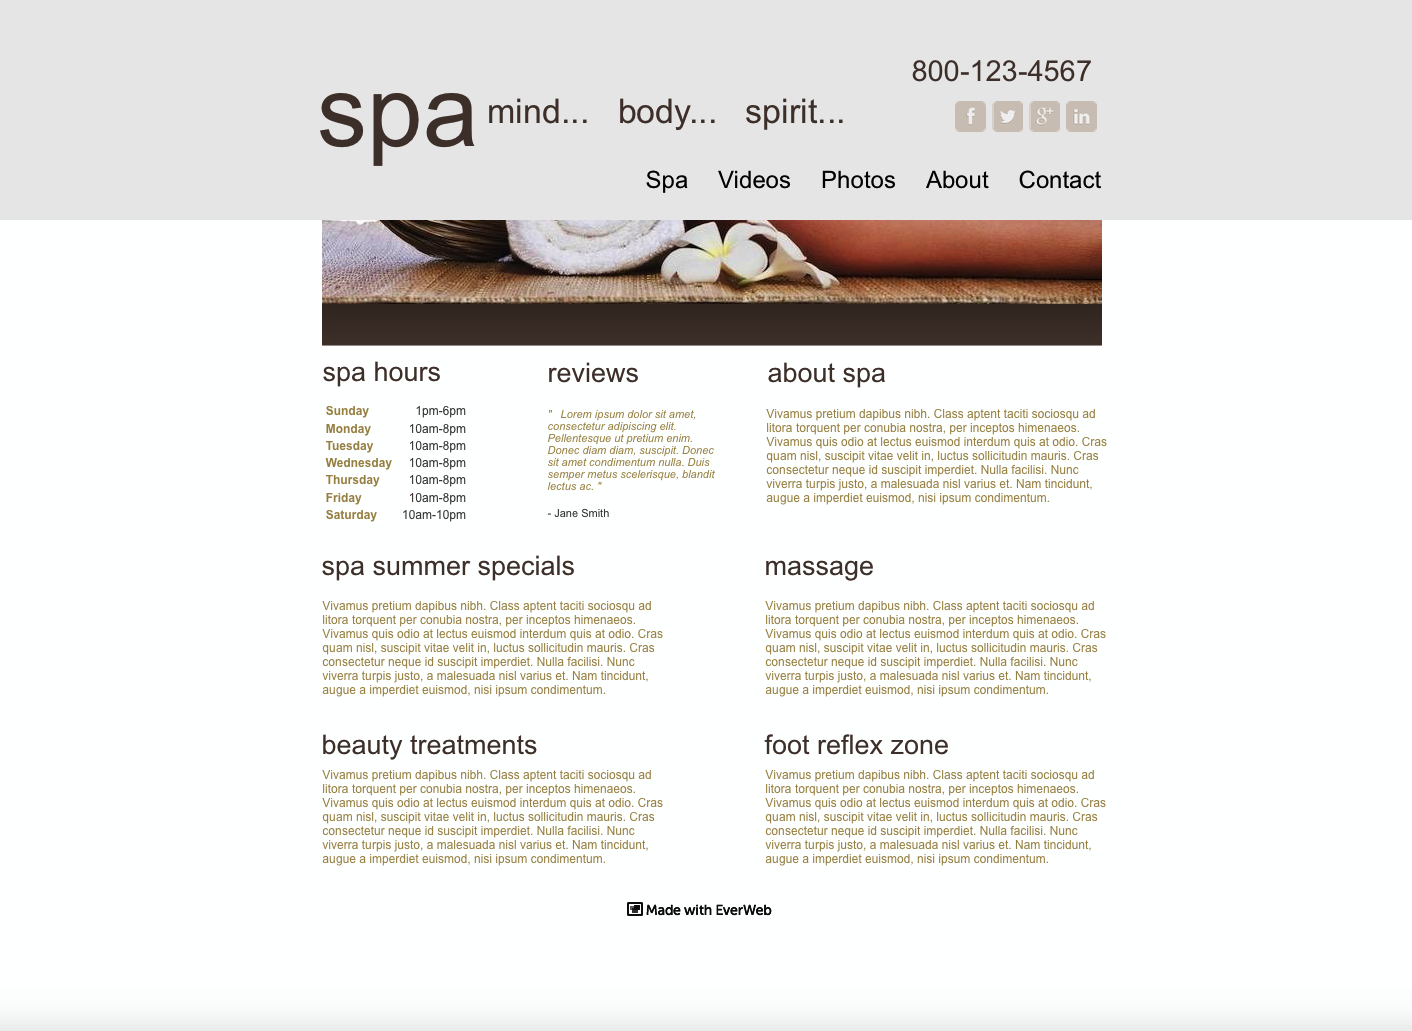
- When you have completed your page, use Preview to see how the page looks before you commit to publishing it on the Internet. You can see the results of scrolling in the screenshots below.

The initial view of the page…
… and the effect when scrolling down the page.
August 2nd, 2015 at 12:25 pm
Is there a video on how to create a fixed heater and footer other then this page.. Can you please send me the link to this..
Thanks
April 21st, 2016 at 4:51 am
Hi Brad
Apologies that this has taken a long time, but now there is a video on EverWeb’s YouTube channel for this! Thanks for your patience! https://www.youtube.com/watch?v=h6SbFlJ1PpU