
Getting Started with EverWeb 2: The Editor Window
March 16th, 2016In the first ‘Getting Started with EverWeb’ blog we installed EverWeb, created our first website Project file and set up some preferences before taking a brief tour of the EverWeb User Interface. We pick up from the previous blog with an in-depth look at the Editor Window’s main features and will have some handy hints and tips to share along the way for first time EverWeb users.
Editor Window Basics
The Editor Window is the large white area in the middle of the EverWeb User Interface. It’s your work canvas where you create and edit your web page content. The Editor Window can be used for editing regular web page or Master Page content. Master Pages are ‘template’ pages that you can create and which we will cover in depth in the next ‘Getting Started’ blog.
In the last ‘Getting Started’ blog we created a website Project using the ‘Home’ page style of the ‘Blank’ Theme Template which looks like this…
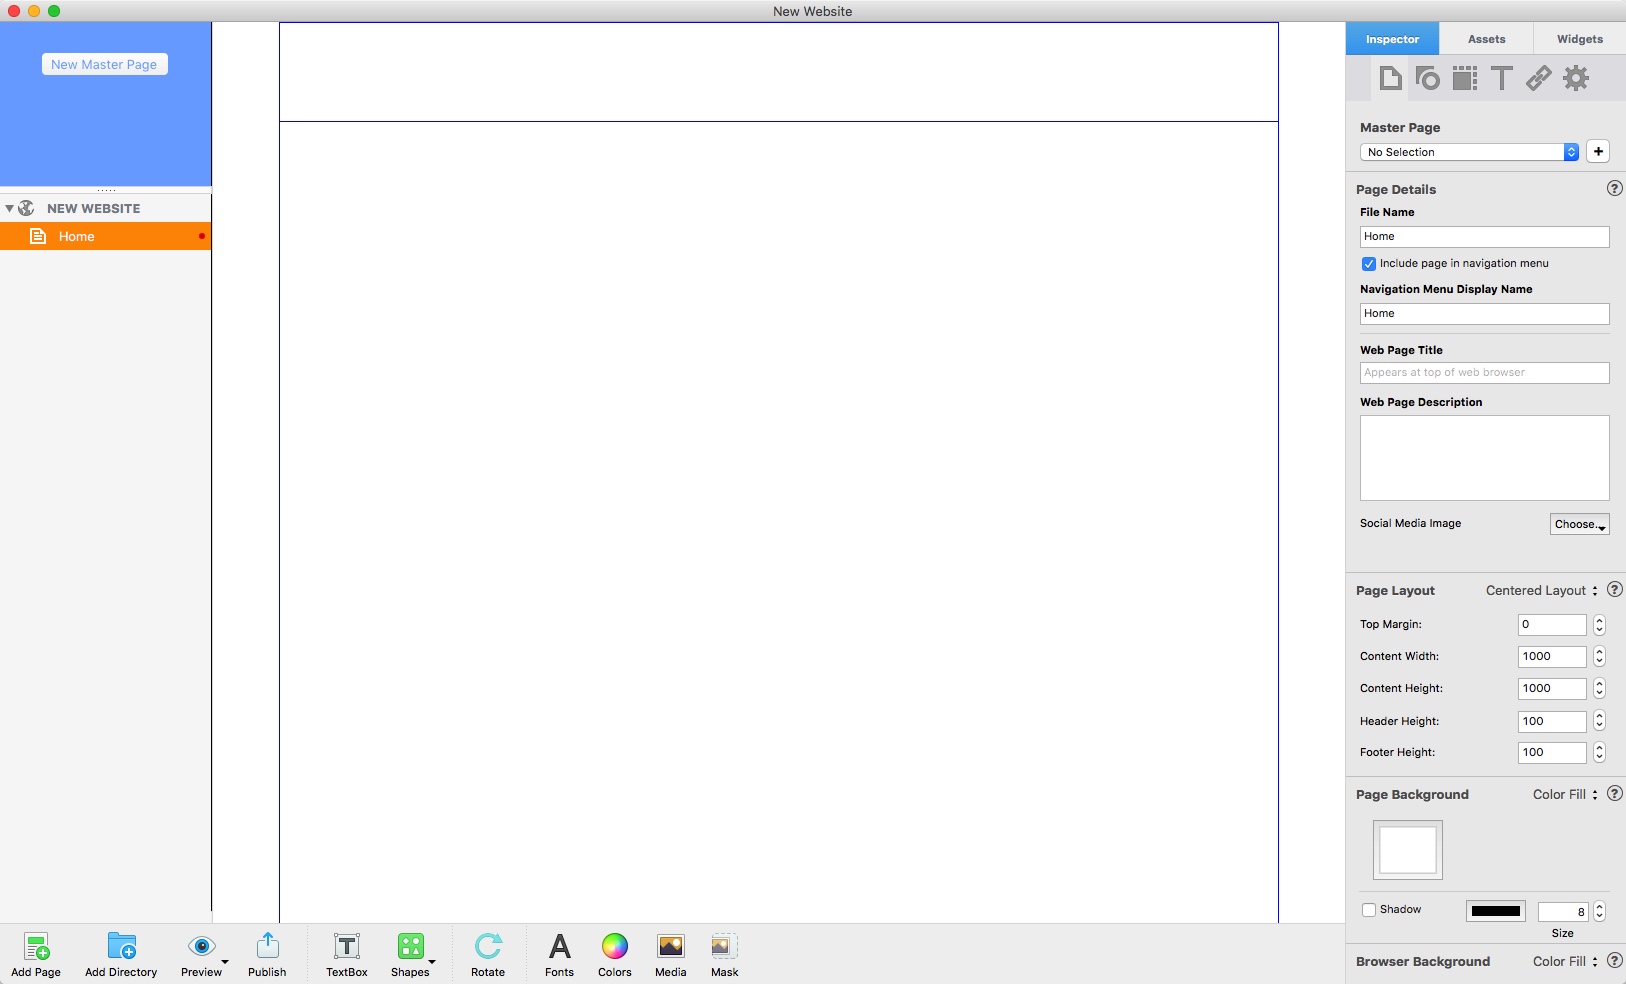
Above is the first page of a new EverWeb Project file using the ‘Home’ style of the Blank Theme Template.
The blue horizontal and vertical lines indicate the boundaries of each area of the web page in much the same way as a printed page has different areas such as a header, footer, margins and so on (see the screenshot below.) Use the Window-> Hide Layout menu if you don’t want to see the lines although we generally recommend keeping them visible.
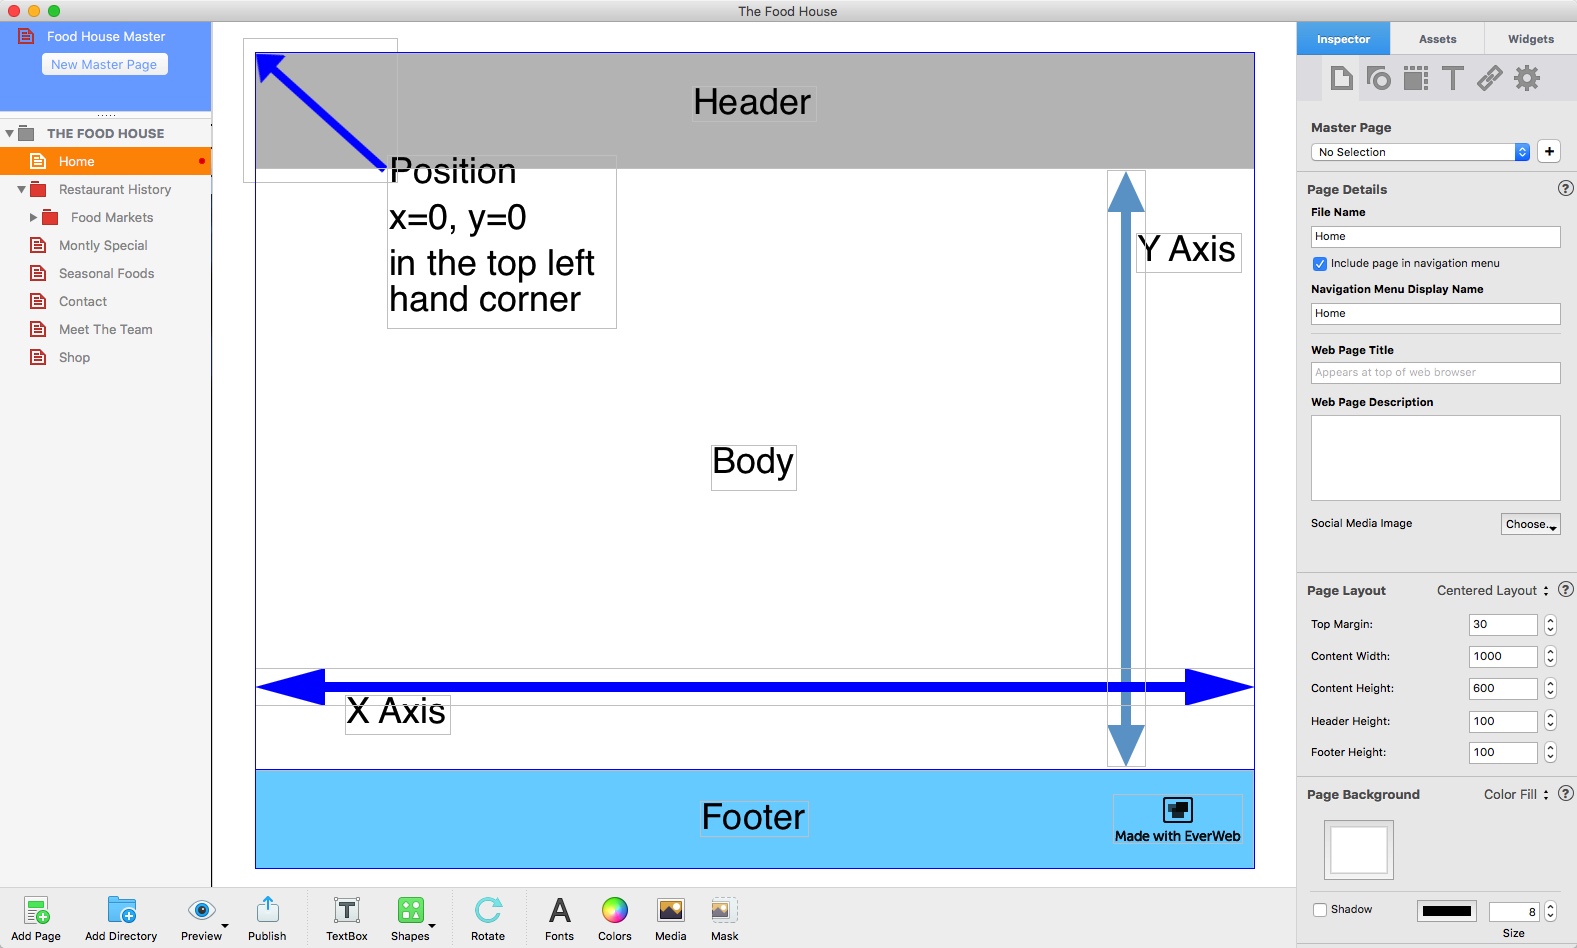
The various areas of the Editor Window. The Top margin area can be seen above the Header area. The co-ordinate system is also shown by the horizontal X axis, vertical Y axis and the 0,0 location in the top left.
Top Margin: You don’t usually see this area as the Top Margin default value is by default set to zero. The Top Margin is directly above the Header and can be used to pad out the top of your web page if needed. This section usually contains no content.
Header: The Header is immediately below the Top Margin and is typically where you place content you want at the top of each web page you create e.g. company logo, navigation menu, social media buttons etc.
Body: Below the Header is the Body area where the majority of your content will go. The ‘Body’ is bounded within the left and right margins and the Header and Footer.
Footer: If you cannot see the Footer, scroll down the Editor Window. Soon you will see the Footer containing the ‘Made with EverWeb’ logo. The Footer works in much the same way as in a book. Place content here that you want to see on each page such as copyright information, contact details, social media buttons, a site map and so on.
Left and Right Margins: The vertical blue lines define the left and right hand margins of the web page. Change the ‘Content Width’ value to determine the width of your page.
Changing Page Dimensions
You can change the dimensions of the page size to suit your own needs e.g. you may want to create a page for mobile phone usage. To change page dimensions use the Page Layout section of the Page Inspector as shown in the above screenshot. The values are displayed in pixels. Typically, web page ‘Content Width’ will be about 980-1000 pixels wide for a desktop or tablet device and about 320-420 pixels for a mobile phone.
When defining the height of the Header, Body or Footer, the values you use are actually minimum values. For example, add a shape to the Body section of the page by clicking on the Shapes button in the Toolbar. Next, click on the rectangular shape. The rectangle appears in the Body section. Now click on the rectangle to ‘select’ it. Square ‘grab handles’ will appear at each corner and at the mid point of each side of the rectangle. If you click and drag on any grab handle the size and shape of the rectangle will change. If you do this, press Cmd+Z to undo the change you have made.
Click and drag the rectangle down the screen. Notice the rectangle’s ‘coordinates’ change. The X-coordinate refers to the horizontal, the Y-coordinate to the vertical. The top left hand corner of the screen represents X=0 and Y=0 (see above screenshot.) If you move right, the X value increases. If you move downwards the Y value increases. If you continue to drag the rectangle down the screen, eventually the Y-coordinate will exceed the default length set for the Content Height of the Body section which is usually set at 1000 pixels. When you release the mouse button, the rectangle will probably be just above the Footer area.
EverWeb works this way so you don’t have to keep changing the page height as you add more content to your page. The page automatically accommodates the extra content by creating more space.
Finally, drag the rectangle upwards until it moves off the Footer and back within the original Content Height again.
Moving Objects Around The Page
As we have just seen, moving objects is done just by ‘drag and drop’ and resizing objects is by using the object’s grab handles. If you need to move an object from one section of the page to another, hold the Command key down as you drag the object over the blue border line before dropping it in place.
If you want to delete an object just select it and press the backspace key. Try this with the rectangle. If you want to undo the action press Cmd+Z.
Adding Content To The Page
Text: You can add text in a couple of ways in EverWeb. If you want just a short piece of text e.g. a title or heading use a Text Box. Click on the Text Box button in the Toolbar to insert it on the page and start typing. If you have large amounts of text it’s best to use a word processing app and cut and paste the text in to your page. With your text or text box selected, use the Fonts menu and/or the Text Inspector in the Inspector Window add any formatting and styling that you need.
Images: If you are including images on your page, just drag and drop them in from their source location on to your page. Alternatively, use the Media button in the Toolbar to bring in photos from sources such as Apple’s Photos or iPhoto libraries.
Other Media: If you want to add audio or video content, use the built in Widgets in the Widgets tab. Just drag and drop the Widget you need on to the page, then use the options displayed in the Inspector Window as required.
Exploring the Editor Window…
Using the Editor Window is best done by trying to create a page that you want for your own website. Here are some more pointers to help you…
Widgets: EverWeb includes 17 built in Widgets which are like mini apps within EverWeb. Probably one of the first ones you will use is the Navigation Menu Widget. Try adding a Navigation Menu in to the Header section of your page. You can find more information in a previous blog about EverWeb’s Navigation Menu Widget.
Setting Page Options: To change the background of the page or browser itself use the Page Inspector. Use the ‘up/down’ arrows for a sub-menu of available options. We will look discuss page settings in more detail in our next ‘Getting Started’ blog.
Changing Object Properties: EverWeb has many different options available for all types of objects. With the object you want selected, use the Shape Options, Metrics and Text Inspectors in the Inspector Window to make the changes you want. You may want to experiment first on a shape, such as the rectangle we used earlier, to see what’s possible.
Adding in Social Media: Use a Widget or the Insert-> Button to quickly add social media buttons to your page.
Grouping Objects: EverWeb allows you to group objects together as one ‘item’. To group objects, first select the objects you want to group by holding down the Shift key and clicking on each object you want to group. Next use the Arrange-> Group menu to group the objects as one item. When you select the grouped item it has a bounding box around the grouped items but no grab handles. To move the group, click and drag one of the objects inside the group rather than any ‘blank’ space that may be within the group’s bounding box.
Different Ways To Do The Same Thing
As with most apps, there are many ways to do the same thing in EverWeb. The Menubar and the Inspector Window offer a variety of different options to help you build a website easily and intuitively. Remember that there are also keyboard short cuts and secondary clicking (a two finger tap on a trackpad or magic mouse) available in many places to save you time and effort.
This blog has only scratched the surface of what’s possible, so if there’s something you want to know or if you have a specific question, let us know below. And don’t forget there are plenty of other useful resources available.
- The EverWeb User Manual: The PDF User Manual can be found on the Help-> EverWeb Manual menu.
- Built in Video Links: Wherever you see a ‘?’ within a circle in EverWeb there’s a link to a video that relates to the feature next to the symbol
- www.everwebapp.com: EverWeb’s own website is a great portal to a variety of help options, from tutorials to videos to the Discussion Forum.
- This Blog: There are many different articles about EverWeb and it’s features functionality and usage to be found here.
- Social Media: EverWeb can be found on the following social media:
Twitter handle @ragesw
Until next time when we will explore Master Pages and more!