
EverWeb’s NEW Dividers Feature for Advanced Page Styling!
January 26th, 2023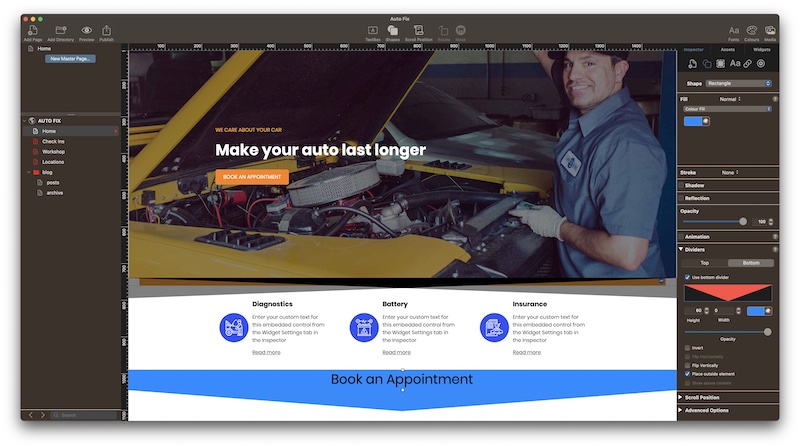
One of the main goals of EverWeb is to help you build beautiful websites easily, simply and without having to code. It’s also our goal to bring you tools that help you to build the site you want in a user friendly way. Typically, this means making traditionally complex website building tasks simple for our users to use and understand.
In our latest EverWeb release, version 3.9, we introduced a new design tool – Dividers! As the name suggests, Dividers are great to use when you want to visually split up content into sections on your page. You can, of course, do this already but Dividers give you sixteen different, fully customizable, styles to help you visually transition from one section of your page to the next. This is especially useful for mobile devices where your visitors may have to scroll the page a lot for discover more content.
More About Dividers
A Divider is, in fact, a scalable vector graphic (SVG) file so the styles you use in your pages will always look great at any page width. All Dividers are fully customizable so you can create exactly the look that you want. You can change the color, opacity, height and width of a Divider. You can also set the Divider to be inside or outside the object it is attached to, as well as being able to invert the Divider horizontally or vertically. There are a myriad of customisation options. Note that when you use certain styling options, this may automatically disable other options.
Dividers can be used on both fixed width and responsive pages. They can also be applied to almost any object you want. Typically, though, you will find that they are used mostly on full width objects as they can only be applied to the top and/or bottom of these such objects.
Adding a Divider to an Object
Adding a divider to your page is easy:
- First select the object that you want to add a divider to, for example, a shape, or widget, such as the Responsive Row widget.
- Go to the Shape Options tab in the Inspector Window.
- In the Fill section, if the dropdown menu is set to ‘None’, change this to ‘Color Fill’. You do not have to change the color from the default shown.
- If the Fill section is anything other than ‘None’ already, leave the setting as it is.
- Towards the bottom of the Shape Options, you will see a section called ‘Dividers’. If this section is closed, click on the triangle to the left of the word ‘Dividers’ to open the section.
- Click on either the ‘Top’ or ‘Bottom’ button to select the type of Divider that you want to add or customize.
- To activate the Top or Bottom divider, click on the ‘Use Top/Bottom Divider’ checkbox.
- To select the Divider that you want to use, click in the ‘Select’ box.
- You can now scroll the Dividers to find the one you want to use. Double click on the divider of your choice to select it.
- Now use the options below the Divider to customize its look. You will see the changes you make reflected in the Editor Window.
Customising a Divider
Changing the look of a divider is easy. Just select the object that uses the Divider then change the options you want to alter. If you want to change the Divider style itself, just click on the Divider style and select a different one. When you change the Divider style, the new Divider style will inherit the options that you selected for the previous Divider.
Removing a Divider
If you decide that you do not what to use a Divider anymore, all you need to do to remove it from the object is to uncheck the ‘Use Top/Bottom Divider’ checkbox.
Dividers are a great, easy and flexible addition to EverWeb, giving you more flexibility in design than ever! Let us know what you think of our new features of if there are other design features that you would like to see in EverWeb in the Comments Section below.