
Customizing EverWeb’s User Interface!
July 25th, 2025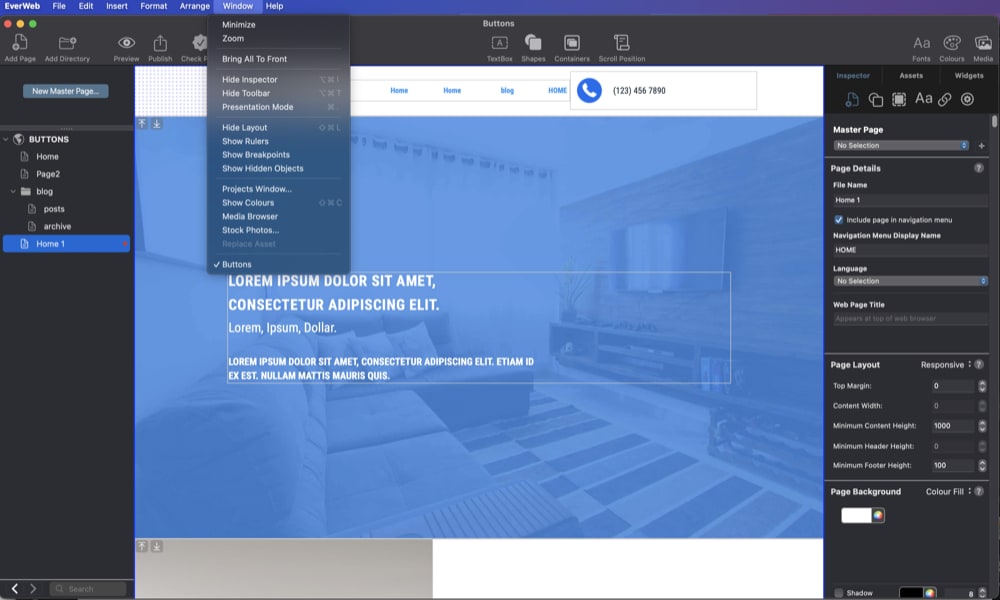
The EverWeb User Interface (UI) lies at the center of your website building project. We call the main UI the Project Window as this the area where you create your website. Everything that you need to build a great website is here at your fingertips. The UI has a lot to of features to explore which might seem daunting if you are a new user, but we have made the UI so that it is as easy to use as it can be. Secondly, there are also lots of ways in which you can customize the UI for a more personalized experience so that EverWeb is set up in the way that is best for your workflow. Here are some features that will help you get the bet out of EverWeb’s User Interface.
Light and Dark Mode
This is probably something that you will set as a system preference on your PC or Mac and EverWeb supports whichever mode you choose.
To use dark mode on a Mac,
- Go to System Settings using the Settings Cog in the dock or by using the Apple Icon -> System Settings menu option.
- Click on the Appearance section in the left hand column of the System Settings.
- In the pane to the right you will see the Appearance options. At the top are three screen representations. Choose either Light, Dark or Auto.
- Your Mac will update the screen automatically for the mode that you have chosen.
- If you have chosen Auto, the screen’s light or dark mode will change depending on the time of day.
To use dark mode on a Windows PC
- Click on the Start menu button
- Click on Settings
- Next click on Personalization
- Chooser Colors from the list
- In the ‘Choose Your Color’ section, you can choose between Light, Dark or Custom.
- The Custom option will give you options for Default Windows and Default App modes.
- Once you have chosen the option you desire, close the Window.
Adjusting Widths and Heights
When you are working in EverWeb’s Project Window, there are two areas that can have their width and height adjusted. the first is the Web Page List that runs down the left hand side of the UI and lists all of the pages in your project. If you have long page names, these may become obscured, and there may be times where you want to see the whole page name. You can easily do this quickly by moving the mouse cursor to the right hand border of the Web Page List, adjacent to the left hand side of the Editor Window. As you do so, the cursor eventually change to a vertical line with a double headed arrow through it. When this icon appears, click and drag the icon to the left or right until you see as much of the Web Page List as you want.
In addition, you can use the same method but vertically to increase of decrease the spacing between the Master page section of the Web Page List and the regular page section. Additionally, you can also adjust the three sections of the Blog Posts page in the same manner. In the Blog Post list section at the top of the Blog Posts page, you can adjust the width of each section as well.
Changing these settings is a system wide change in EverWeb. When you log out and log in to EverWeb, the changes will be preserved. If you have more than one project, you will notice that the changes will be applied to all of your projects.
Show and Hide Features
The Window menu is the place where you can really customize how you want Everweb’s UI to look. Some options on this menu are system level ones so will be retained when you log back in to EverWeb the next time, some are only session specific. In our description below, we will indicate which is which.
- The Inspector Window: You can hide the Inspector Window that contains the Inspector, Assets and Widgets tab. Typically you will want to do this if you want to maximize your screen real estate for the Editor Window. Toggling this setting is not a system level change, but is only valid in your current EverWeb session. The next time you log in to EverWeb, the Inspector will be available again.
- The Toolbar: Hiding the Toolbar is a great way to gain screen real estate and is a system level change. If you hide the Toolbar, you can still access all of its features through the menu system, apart from the Check Page feature.
- Presentation Mode: This is a great way to preview the current page without having to use Preview! The Toolbar, Web Page list and the Inspector Window’s are all removed leaving just the Editor Window displayed. As you would expect, this setting is valid only in your current EverWeb session.
- Hide Layout: Usually when you are designing your website’s pages you will want to have the layout lines, icons and so forth displayed. At times, however, you might want to get a ‘clean’ look at the page without the design layout displayed. If so, this is the option for you! This is a system level change, so will be retained in your next EverWeb session.
- The Ruler: EverWeb will display the ruler that runs across the top and left hand side of the Editor Window. If you do not want this displayed, you can turn it off using the Window-> Show/Hide Rulers menu option.
- Breakpoints: This is usually an option that is hidden as EverWeb automatically takes care of the points at which objects will wrap on devices. If this is important in your design, you might want to keep this visible. Showing Breakpoints is a system level setting so they will be visible when you log in again to EverWeb.
- Show Hidden Objects: This option is by default unchecked. If you use Hidden Objects in your EverWeb designed pages, you may want to set this option on. This option is also session specific.
EverWeb Settings
The last settings that affect EverWeb’s UI are to be found in the EverWeb-> Settings (formerly Preferences) menu option on a Mac, and in Edit-> Options if you are a Windows user. Under the General tab, you will find options to show or hide alignment guides, show or hide hyperlink indicators, and an option to show small or normal sized layout buttons in the Editor Window.
EverWeb’s UI features gives you control and customization options to help you get the best working environment to design your website in!