
Cookie Consent and EverWeb
August 27th, 2016
In May 20111 the European Union enacted a directive giving EU citizens the right to refuse to use cookies that could reduce their online privacy. The directive requires websites to gain consent from visitors if the website stores or retrieves any information about the visitor on any type of computing device.
What are Cookies?
Cookies are small packets of data that a website asks a web browser to store so that the data can be used in the future. The data stored typically helps identify visitors, visitor preferences or visitor actions. Cookies can be either be valid for the browser session or persistent i.e. permanent.
What Does This Mean For My Website?
EverWeb itself does not create or use cookies, so for most website developers cookie consent is probably not required.
However, there may be instances where you do use cookies e.g. if using Google Analytics in your website, if you have added custom scripts that use cookies or if you are using third party tools and add-ons in your website that use cookies as part of their functionality. If you use cookies you should add a cookie consent bar to your website.
Even if your website is targeted towards a market or audience outside of the EU, cookie consent is probably good to include anyway in case visitors from the EU find your website.
If you need to have a cookie consent, there are a couple of simple ways to add it to your website which we have outlined below.
EverWebPowerUp.com offers a free and easy to use Cookie Content bar for EverWeb. Silk tide is a free tool that adds some Javascript to your website whilstRoddy McKay’s EverWeb CodeBox offers a Cookie Bar Widget as part of the Touch Widget set that’s available to purchase from the EverWeb Codex website.
Using The EverWebPowerUp.com Free Cookie Consent Widget
The free Cookie Consent Bar from EverWebPowerup.com is easy to use. Simply download it from EverWebPowerUp.com and then double click it to automatically install it in EverWeb.
- Drag and drop the widget onto the page you would like to use it on
- From the ‘Widgets’ tab in the Inspector you can modify the text and style shown by the Cookie Bar
The Cookie Bar can appear either at the top or bottom of your page. However, within EverWeb it will appear where you place it on your page. When you preview or publish it will appear at the location you have selected in the Inspector.
If you want the Cookie Consent Bar to appear on all pages, consider creating a Master Page and adding the Cookie Consent Bar to that master page. There is a video tutorial covering Maser Pages in more more detail.
Using Silktide for Cookie Consent
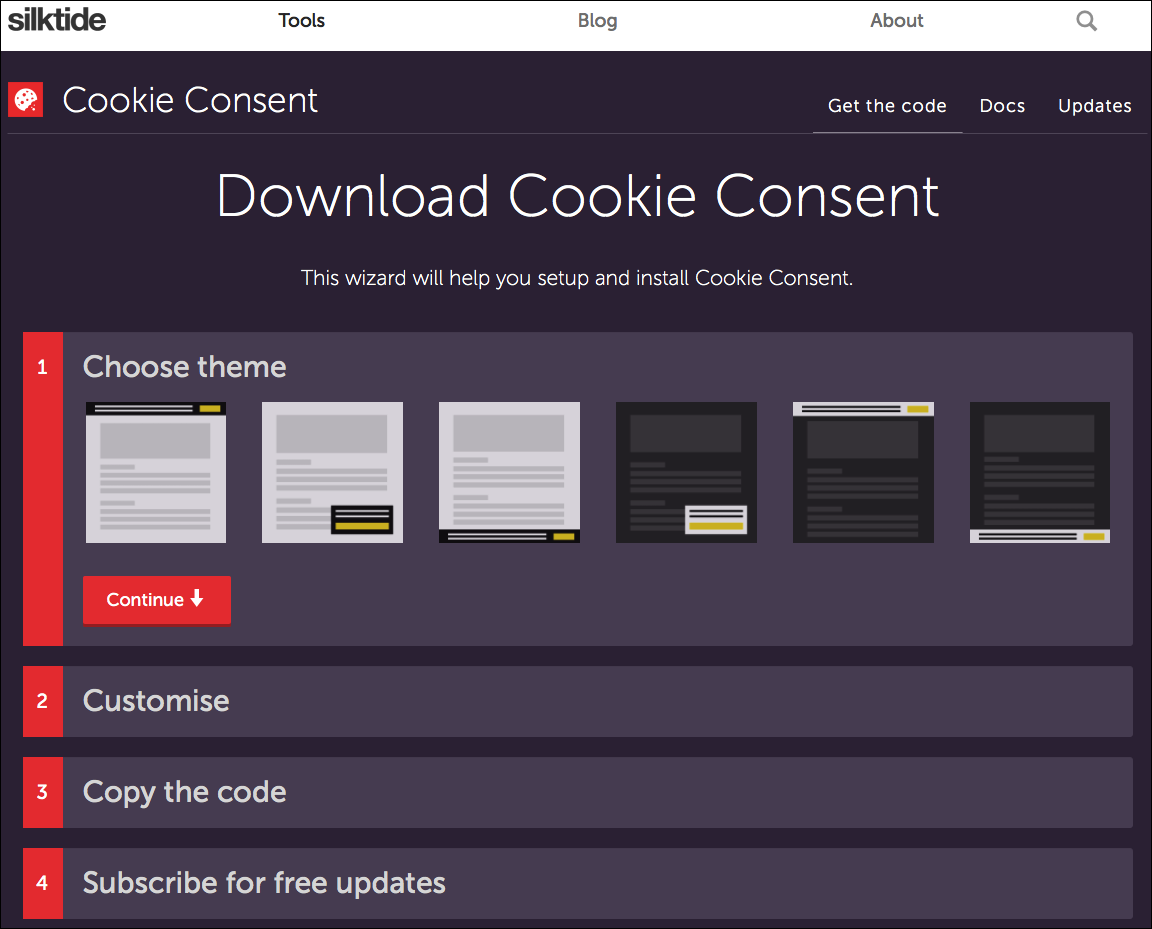
Silktide’s Wizard quickly guides you through setting up and customizing your Cookie Consent bar.
Silktide offers a free to use Cookie Consent bar using Javascript that’s injected in to your website. The website uses a wizard (see above screenshot) that guide you through the Cookie Consent setup process, first by selecting and customising the theme you want to use, linking to a cookie policy page if you have one, then copy the code that is produced to the clipboard.
The code that you have copied to the clipboard should be added to your Site Publishing Settings. To access the Site Publishing Settings, click on your website name in the Web Page List of your project, or use the File-> Edit Publishing Settings menu.
In the Head/Footer Code section, paste the copied code in to the Head section. Publish your website and test to see the results. If you use Preview, you may not see the Cookie Consent bar.

The EverWeb Codebox Touch Cookie Bar lets you customize many features of the Cookie Consent Bar to match your website’s design.
Using The EverWeb Codebox Widget
The EverWebCodeBox from EverWeb super user Roddy, includes a Touch Cookie Bar Widget that is available for purchase as part of the Touch Widgets collection. Once purchased and installed, drag and drop the Touch Cookie Bar Widget on to your web page. It is best to do this on the home page on your website as this is typically the first page visitors will access on your website. you can add the Widget to all of your website pages, but this may be irritating for your visitors!
Once the Widget has been placed on your page, go to the Metrics Inspector and tick ‘Full Width’ and ‘Always On Top’. The remaining settings for the Widget can be found in the Widget Settings tab. The Cookie Bar is placed at the top of the browser window by default but can be placed at the bottom of the screen by ticking the ‘Fix To Bottom’ checkbox.
The Touch Cookie Bar Widget is fully featured so you can include ‘Decline’ and ‘Cookie Policy’ buttons if desired (see screenshot above). Color, spacing and text options can be applied to give the Cookie Bar the look that matches your website’s design.
Further information about the EU Cookie Consent Directive can be found in the European Commission’s ‘EU Internet Handbook‘.