Introducing EverWeb 4.4’s NEW Scrolling Effects Feature!
December 8th, 2025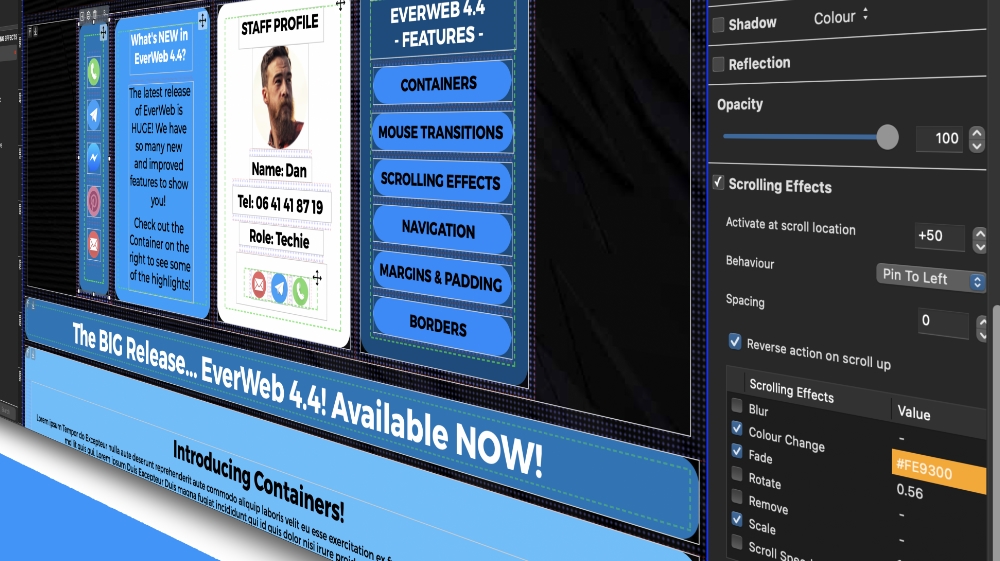
One of EverWeb 4.4’s new features is Scrolling Effects. As its name implies Scrolling Effects give you an easy way to keep headlines, text information, images, and other objects that you want always visible on the pages of your EverWeb made website. It’s also great for when you want to keep reminder information, special offers, legal information or contact forms visible at the bottom of the screen. Scrolling effects are also great for when you want to pin social media icons to the side of your page!
Where To Use Scrolling Effects
To use Scrolling Effects you will need EverWeb 4.4 or higher, for macOS or Windows. If you are using a previous version of EverWeb, you can update it to the latest version using the EverWeb-> Check for Updates… menu on a Mac, or the Help-> Check for Updates… menu if you are using Windows. You can apply Scrolling Effects to objects in both fixed width and responsive pages.
Setting Up a Scrolling Effect
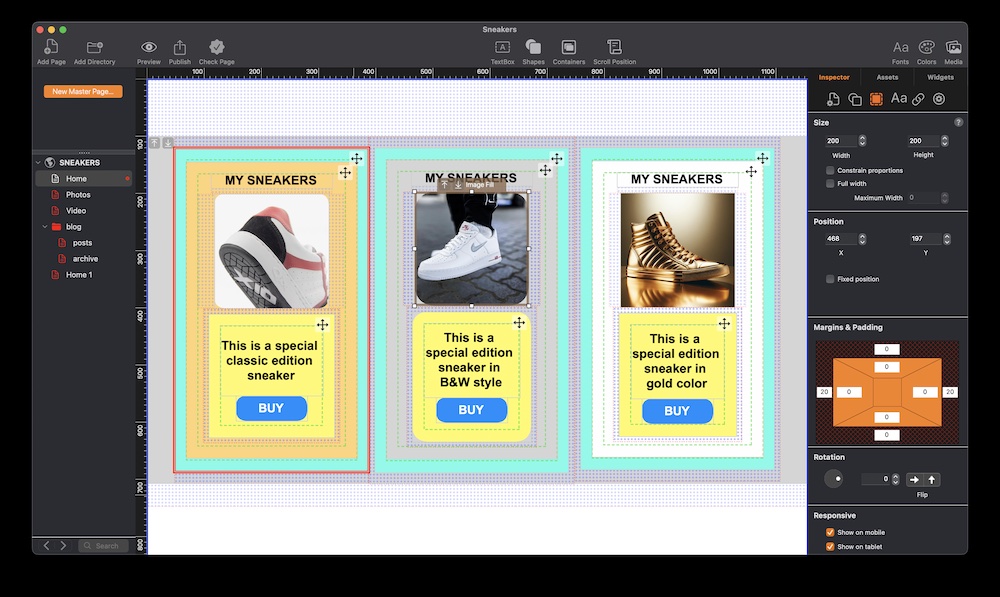
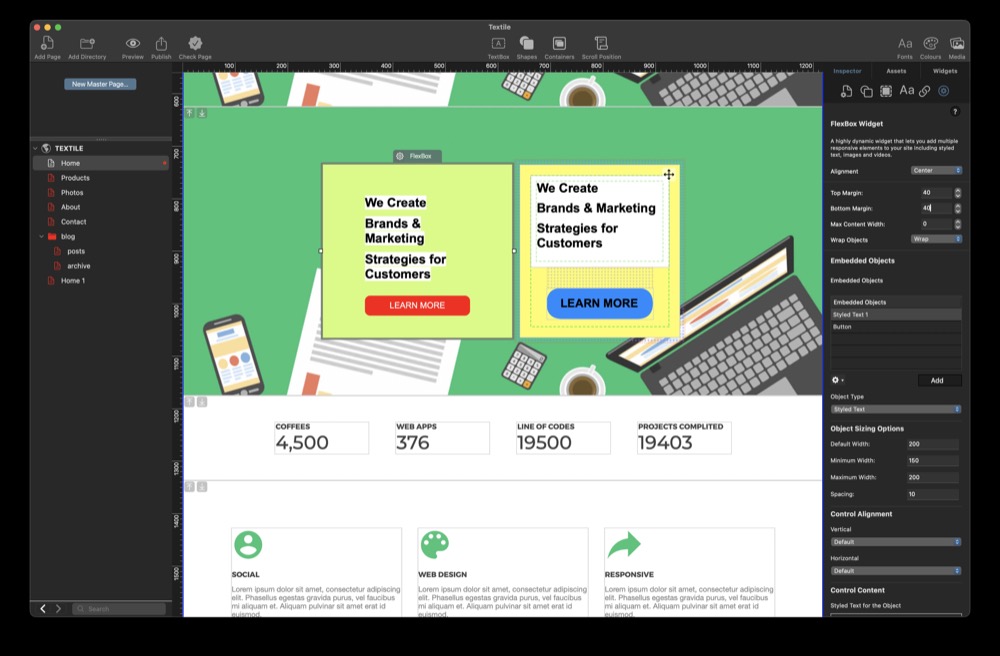
To apply a Scrolling Effect, first select the object that you want to use a Scrolling Effect with on your page. Next go to the Shape Options tab and activate the Scrolling Effects settings. Either click on the text, ‘Scrolling Effects’ or check the checkbox to the left of the Scrolling Effects section title.
After activating the Scrolling Effects settings, the first action you will probably want to take is defining the effect(s) that you want to apply to the selected object. Select one or more effect that you want from the ‘Scrolling Effects’ list. There are seven different types of effect to choose from:
- Blur
- Change Color
- Fade
- Rotate
- Scale
- Scroll Speed
Each Scrolling Effect has a value that you can change to suit your needs. You can also use more than one effect on the selected object if you want. This will give you great flexibility to create just the effect you want.
Activate at Scroll Location
The first setting in the Scrolling Effects section is ‘Activate at Scroll Location’. By default this is set to zero so the scroll effect will activate immediately when your visitor scrolls. If you set the value other than zero, for example 20, the scrolling effect will be triggered when the page has been scrolled down 20 pixels.
When setting the value for activate at scroll location, you have two additional ways in which to enter a value…
- Use a ‘+’ number: For example, if you enter a value of +50, the scrolling effect will trigger at the current object position plus 50 pixels.
- Use a percentage, for example, if you enter 10%, the scroll effect will trigger when the object is scrolled to 10% of the top of the browser
Behavior
The Behavior setting defines what type of scrolling effect is applied to the selected object. There are six different scrolling effects available:
- Pin To Top: The object will be pinned in the center of the top of the page
- Pin Stack: The first stacked object will be pinned to the center of the top of the page. Any following stacked pinned objects on the page will stack one under the other as the page scrolls.
- Pin Push: Objects will be pinned to center of the top of the page. As the page scrolls, the first pinned object will be replaced by the second pinned object, the second by the third, and so on.
- Pin To Bottom: The pinned object will appear in the center of the bottom of the screen.
- Pin To Left: The pinned object will appear at the left hand edge of the browser window.
- Pin To Right: The pinned object will appear at the right hand edge of the browser window.
Spacing
The next field is Spacing which sets the amount of space a pinned object is from the edge of the browser. For example, if Spacing is set to a value of 10 for an object that is pinned to the left, it will appear 10 pixels in from the left hand edge of the browser.
Reverse Action on Scroll Up
As its name implies, if you check this setting’s box, as you scroll back up the page, the pinned object will move back to its original location.
After completing the fields in the Scrolling Effects section, preview before you publish to see that the effect you have created is what you require.