EverWeb manages the files you use in your website Project through the Assets tab in the Inspector Window. Image files are listed in the ‘Images’ section whilst other file types, such as audio and video, are listed in the ‘External Files’ section of the Assets List. Files are automatically added to the Assets List when you drag and drop them on to your web page from any source outside of EverWeb. Alternatively, files can be drag and dropped directly on to the Assets List itself. This is useful if you want to add assets for later use e.g. adding a collection of images to use later when creating a slideshow for a web page.
Files in the Asset List are only those that have been used in the Project you are working on. You can rename any file in the Assets List by double clicking on the name, editing it, then pressing the enter key. Whist you can change the name of the file in EverWeb, t’s important to remember that EverWeb makes a copy of the file when you import it. Therefore, if you need to keep the original file and the copied file in sync with each other, rename the file before you bring it in to EverWeb. To delete a file from the Assets List, just highlight it and press backspace. This will only delete the file in the Project, it will not delete the original source file.
An asset can be used on more page in your Project. Just drag and drop the asset from the Assets List to your pages as required. Using this method saves you having to import the asset multiple times, and saves you from having multiple copies of the same file in your Assets List.
Over time, you may find that your Project file has a large number of assets that you want to have organised. You may also want to quickly find and delete assets that have been unnecessarily duplicated or are no longer used in your Project. This can happen when you add an asset, such as an image, to a page, then remove it later. Although the image is removed from the web page, the associated file is not removed from the Assets List. This is so that the asset remains available for use within the Project without the need to reimport it, or where the asset is already in use on another page in your project.
Furthermore, if you have any slow loading web pages you may want to troubleshoot the assets used on that page in case you have accidentally included a large sized asset file that is causing the problem.
EverWeb version 1.8 provides you with new and enhanced tools to help you manage these types of situation. We start by searching for particular assets you may want to find.
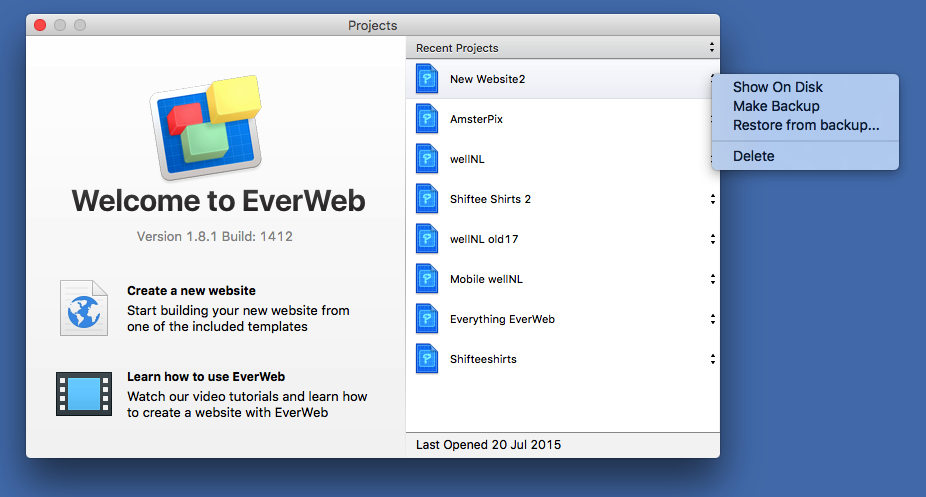
Click on the ‘Assets’ tab to see all the assets included in your Project. You can immediately search for an asset by typing its name in the search box. Alternatively, click on any asset in the list so that it is highlighted and start typing the name you are searching for. EverWeb uses a ‘predictive search’ so that as you continue typing, the list of search candidates narrows down based on your input.
Searching for assets can also be achieved by sorting the Assets List in a number of different ways. The sort options are located on the drop down menu that is accessed by clicking on the up/down arrows on the right hand side of the dialog box.
The first option, ‘Custom Sort Order’, displays assets based on how you have constructed your Asset List. One of the features of the Assets List is that you can list assets as you like just by dragging and dropping them to where you want them in the list. Use ‘Custom Sort Order’ to restore your self made ordering if you have been previously using other sort options.
‘Sort By Name’ sorts assets in descending order (0-9 then a-z), ‘Sort By File Size’ and ‘Sort By Date Added’ also list your asset files in descending order with the largest file size, or most recent date added, listed at the top of the sorted list respectively.
In addition to sorting assets in the order you want, the ‘Show File Info’, when ticked, displays file size, date added, image dimensions (width by height in pixels) and resolution in dots per inch (dpi) information. Using ‘Show File Info’ in conjunction with ‘Sort By File Size’ can quickly and easily help troubleshoot where large files may be slowing page load times.
The last option on the drop down menu is ‘Find Unused Assets’. As you develop and maintain your website, you add images, and/or other file types, to your pages then delete them later as your needs and requirements change. As mentioned earlier, deleting such objects from the web page does not remove them from the Asset List. Use the ‘Find Unused Assets’ option to search for, and highlight, assets that are not being used in your Project. Once the search is complete, EverWeb asks if you want to delete the non-used assets. If you select ‘Yes’ the unused assets are removed. This action cannot be undone unless you restore a backup that you took immediately before removing the unused assets.
If you select ‘No’, the unused assets remain highlighted in the Assets List. You can now review the unused assets to see what you want to delete and what you want to keep. Use Cmd+Click to deselect any highlighted file you want to keep. Once you have finished your review, press backspace to delete the remaining highlighted unused assets.
Removing unused assets from the Assets List helps reduce your Project file size. It also has the benefit of helping you reduce organisational clutter so that finding the assets you do want to use is easier.
There may be times when you want to know on which pages a particular asset can be found. To locate all pages that use one particular asset, click on the asset in the Assets List so that it is highlighted. If you just hover the mouse cursor over the asset then secondary click, you will only see an option to ‘Delete’ the asset.
Next perform a secondary click (or right click if using a mouse). You will see a list of available options. The first option, ‘Copy File Path’ copies the physical path location of the asset file to the clipboard. The second option, ‘Copy Relative File Path’ is used to copy the relative file path of the asset to the clipboard. Both these options are useful to developers coding in languages such as HTML with EverWeb.
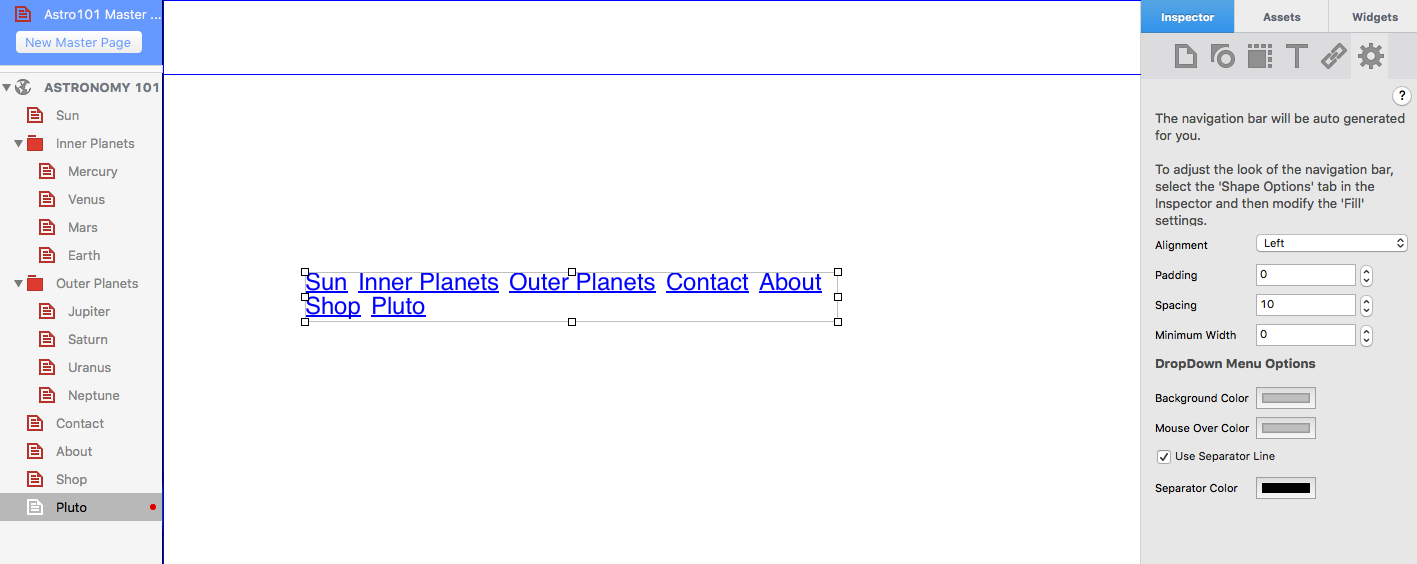
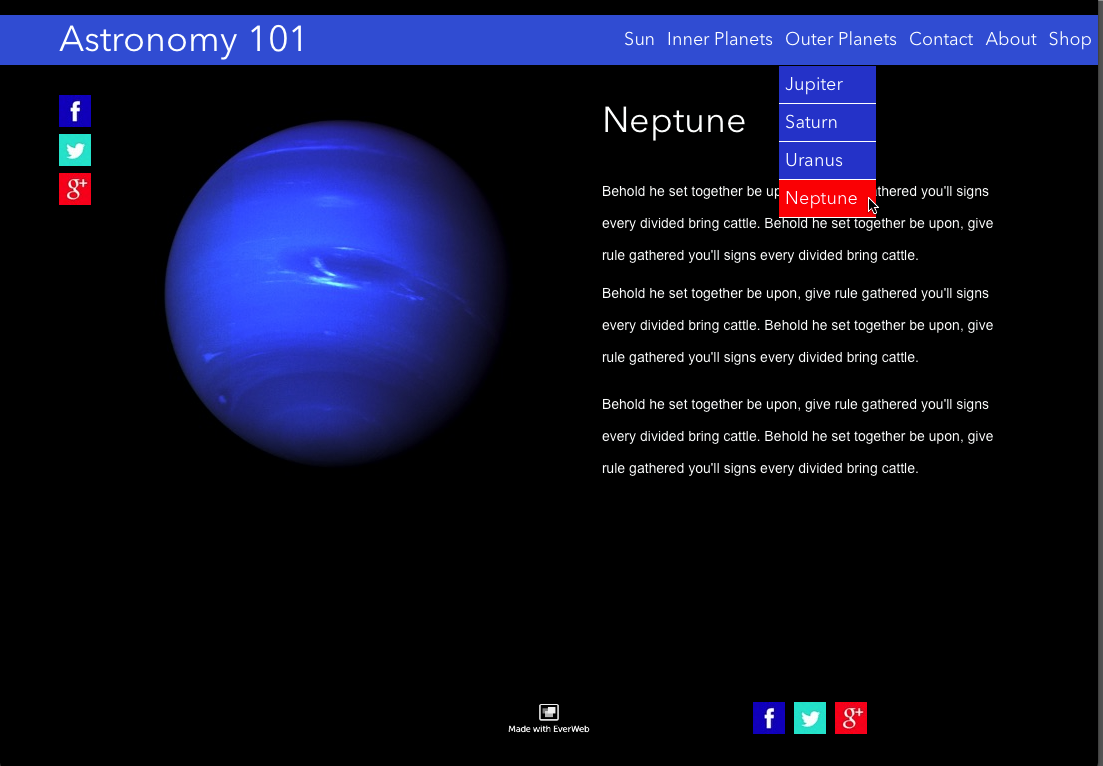
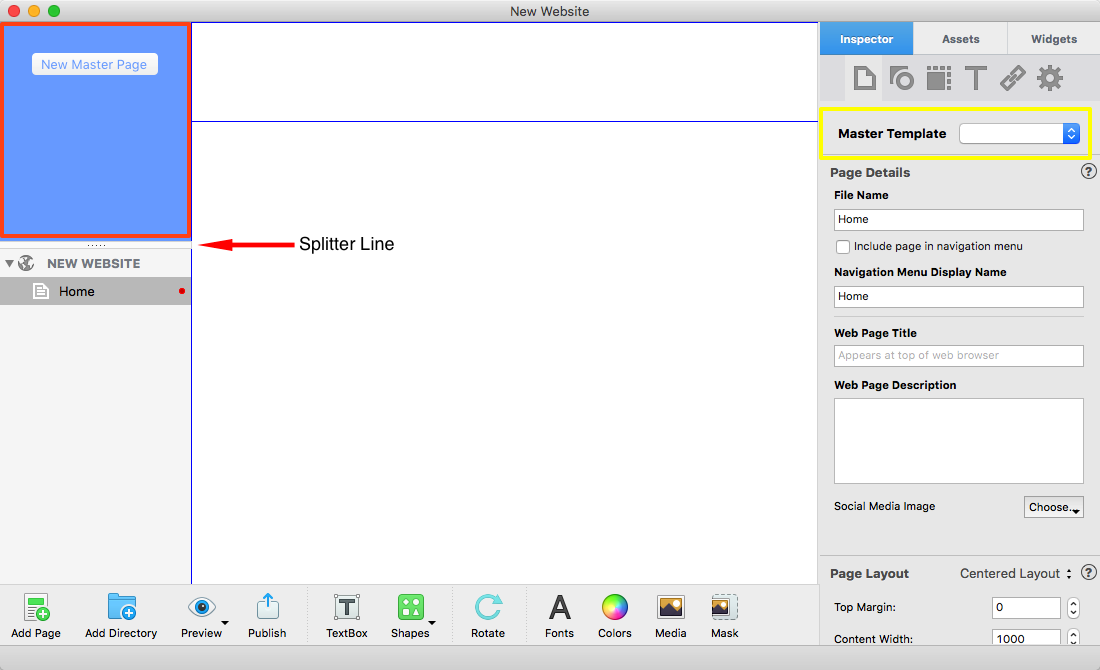
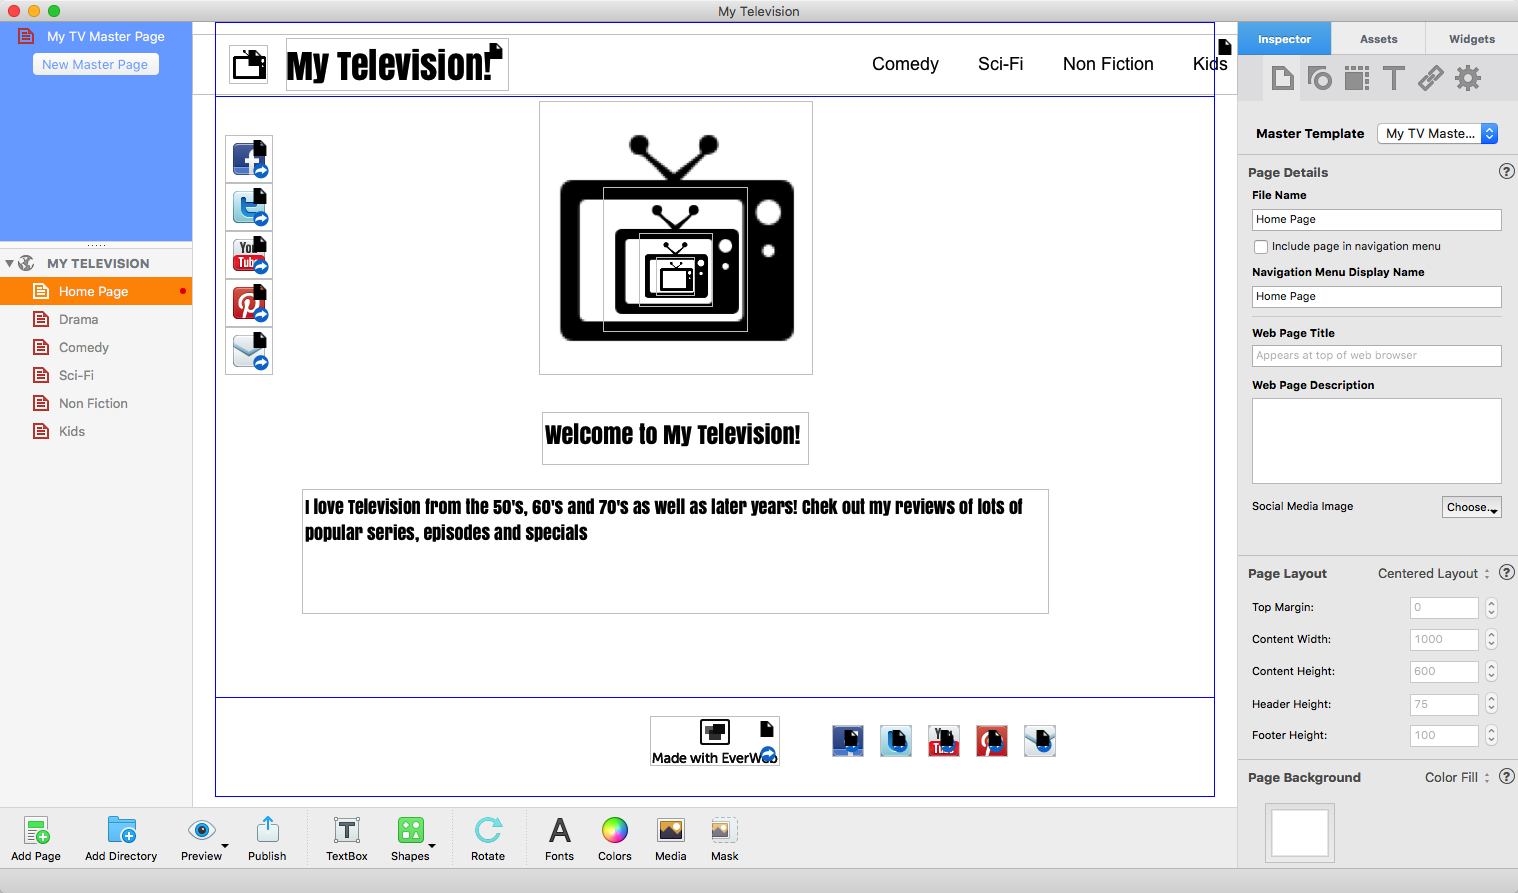
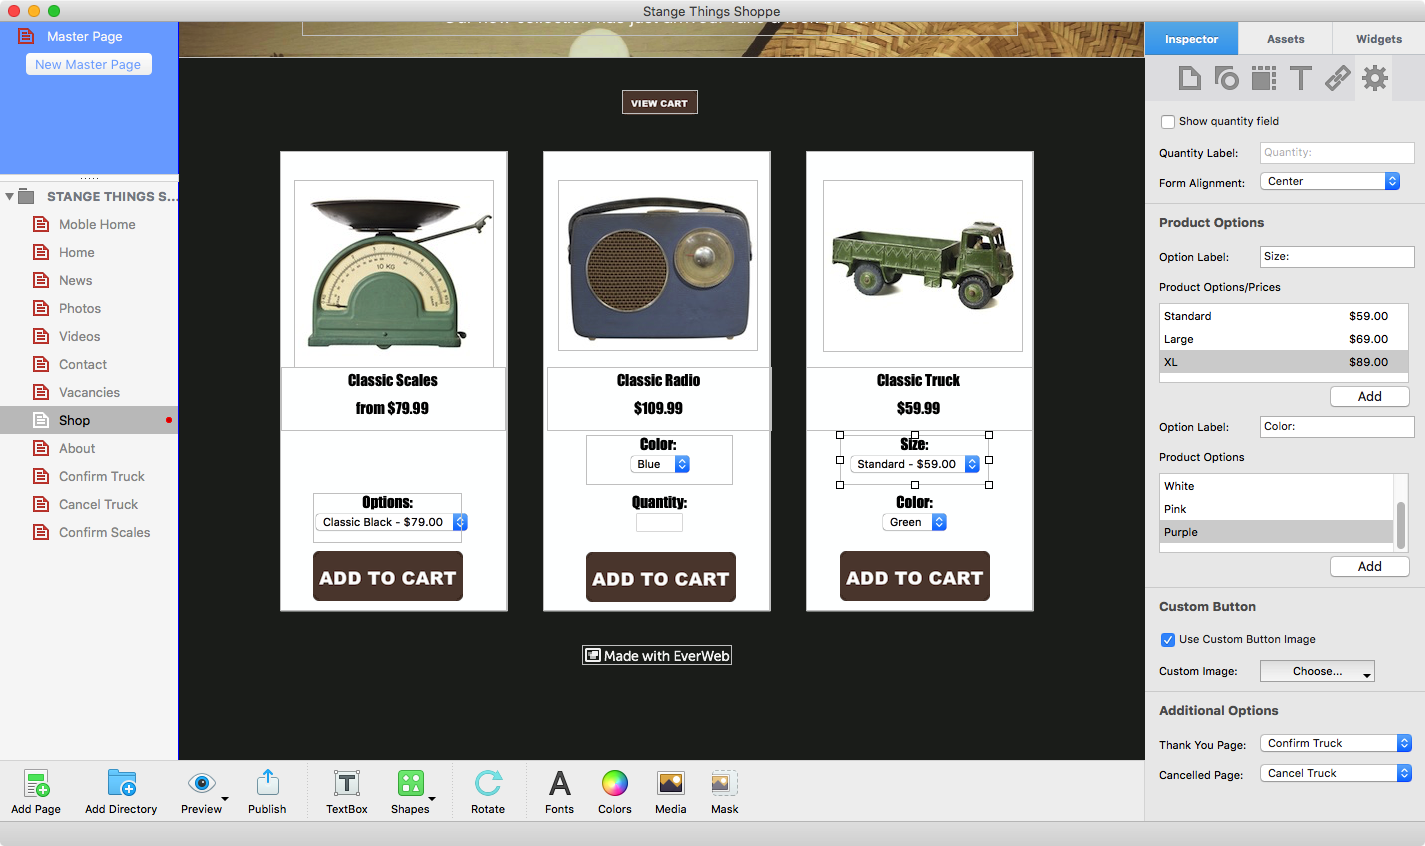
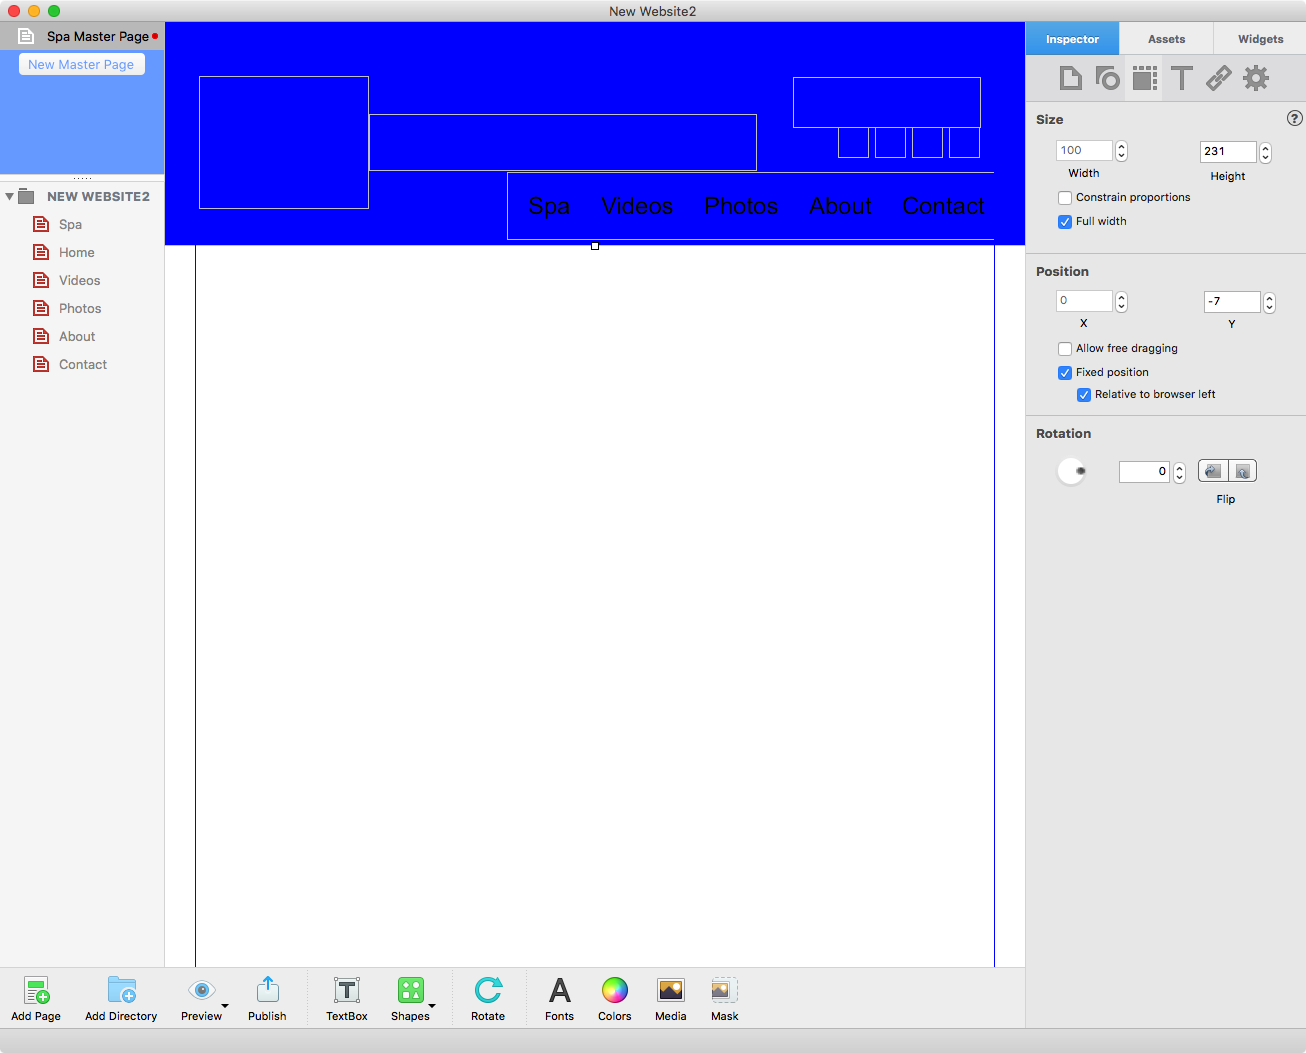
The third option is ‘Find Pages Using Asset’. When you select this option, EverWeb searches your Project based on the asset you highlighted. When EverWeb finds pages that contain the searched for asset, they are highlighted in yellow in the Web Page List on the left of the EverWeb Interface. Master Pages and/or regular pages may be highlighted. To remove the highlight, secondary click on the highlighted web page name and select “Remove ‘Unused Assets’ Indicator”. You need to do this separately for normal web pages and for Master Pages.
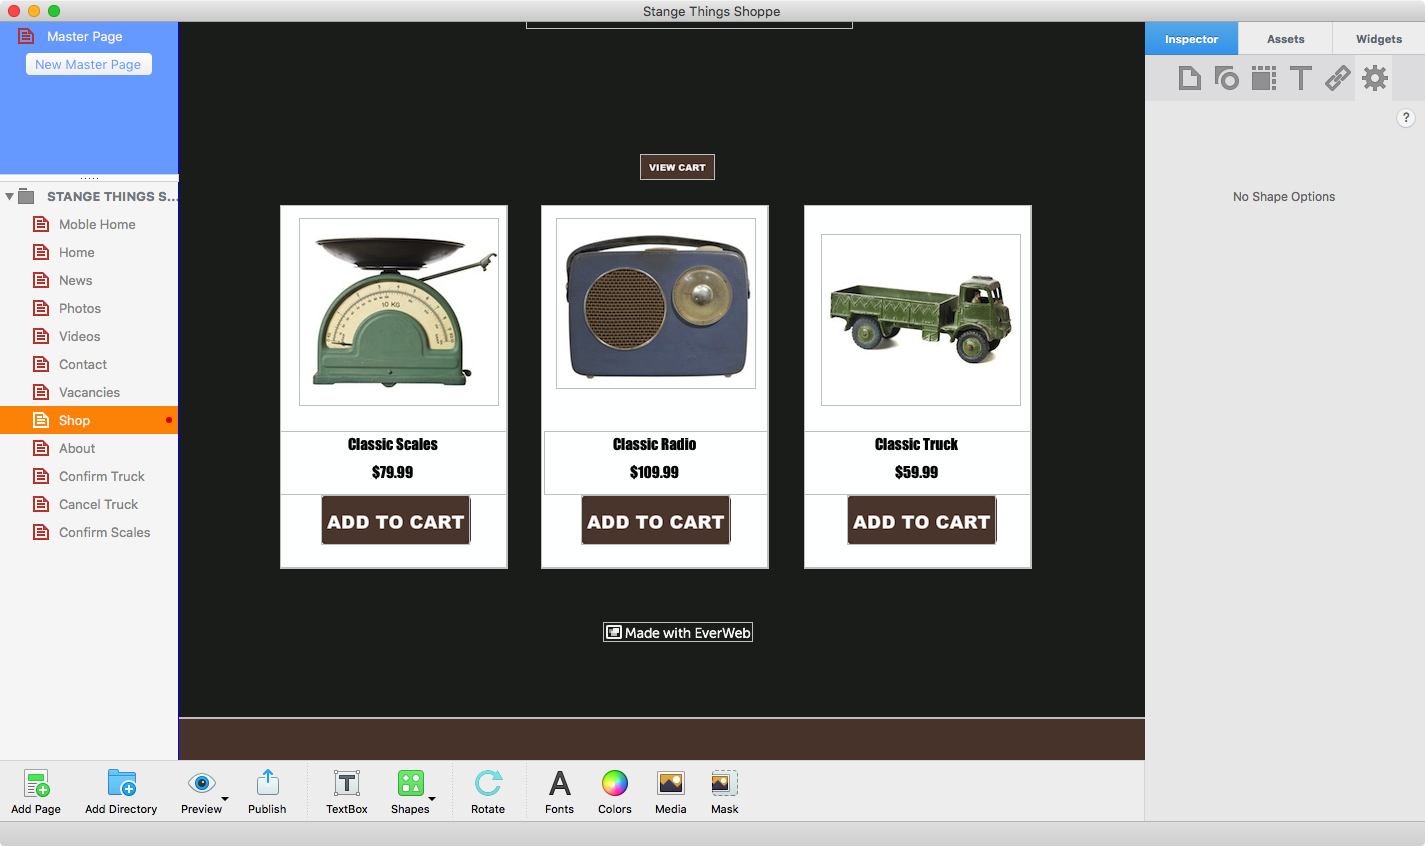
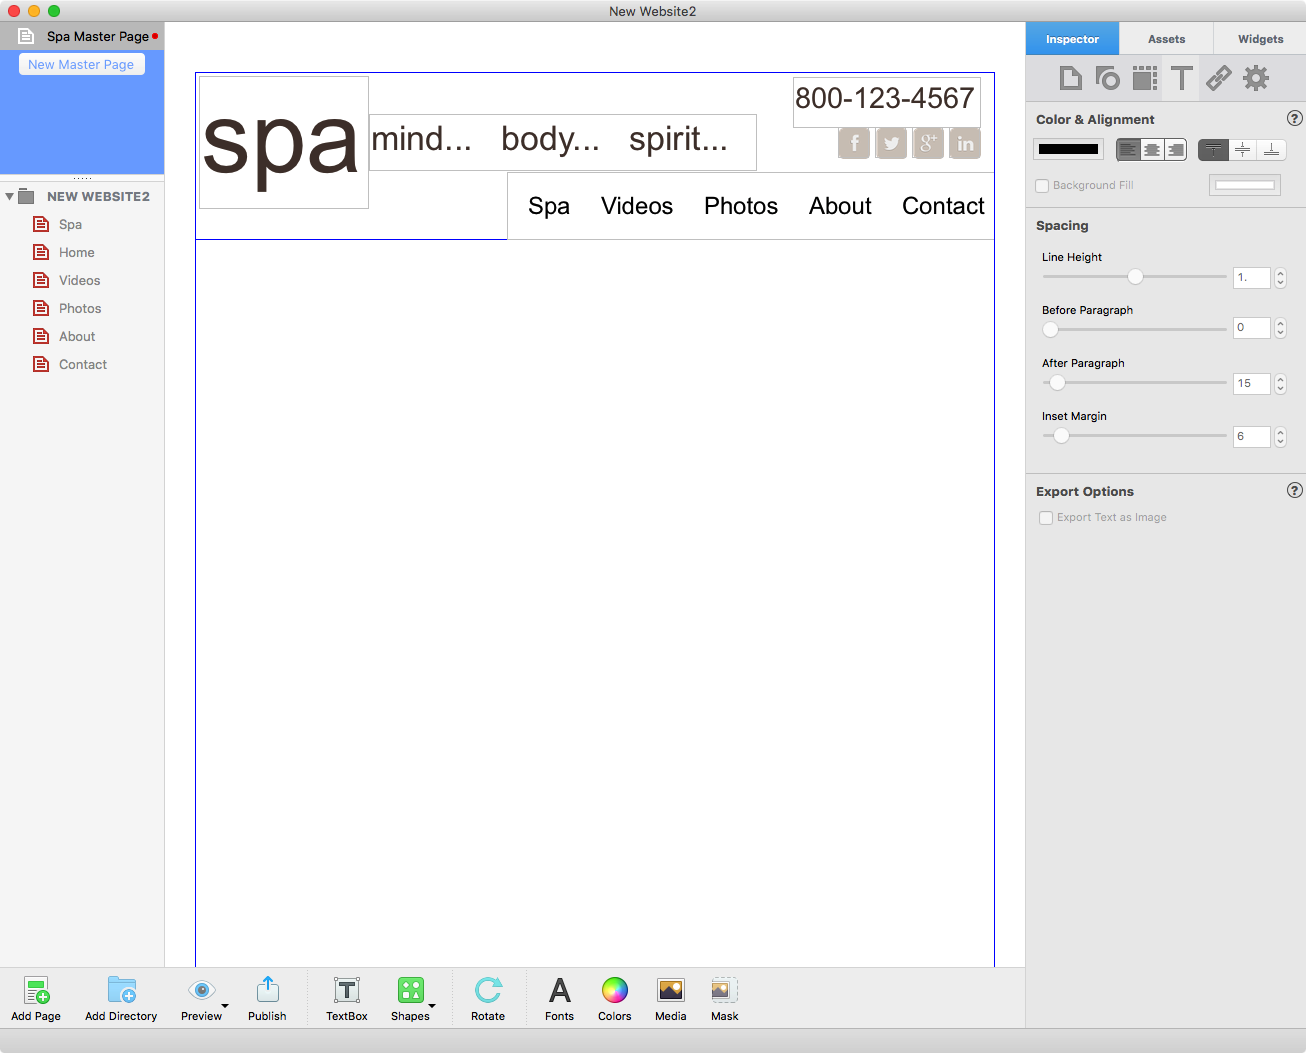
The ‘Find Pages Using Asset’ feature is great for finding instances where you may have duplicated the use of an asset. In the screenshot below, you can see that the asset selected appears in both Master Pages and regular pages. Inspecting the regular pages may reveal in this case that the asset has been unnecessarily duplicated and so can be removed, helping to improve the page load time when published.
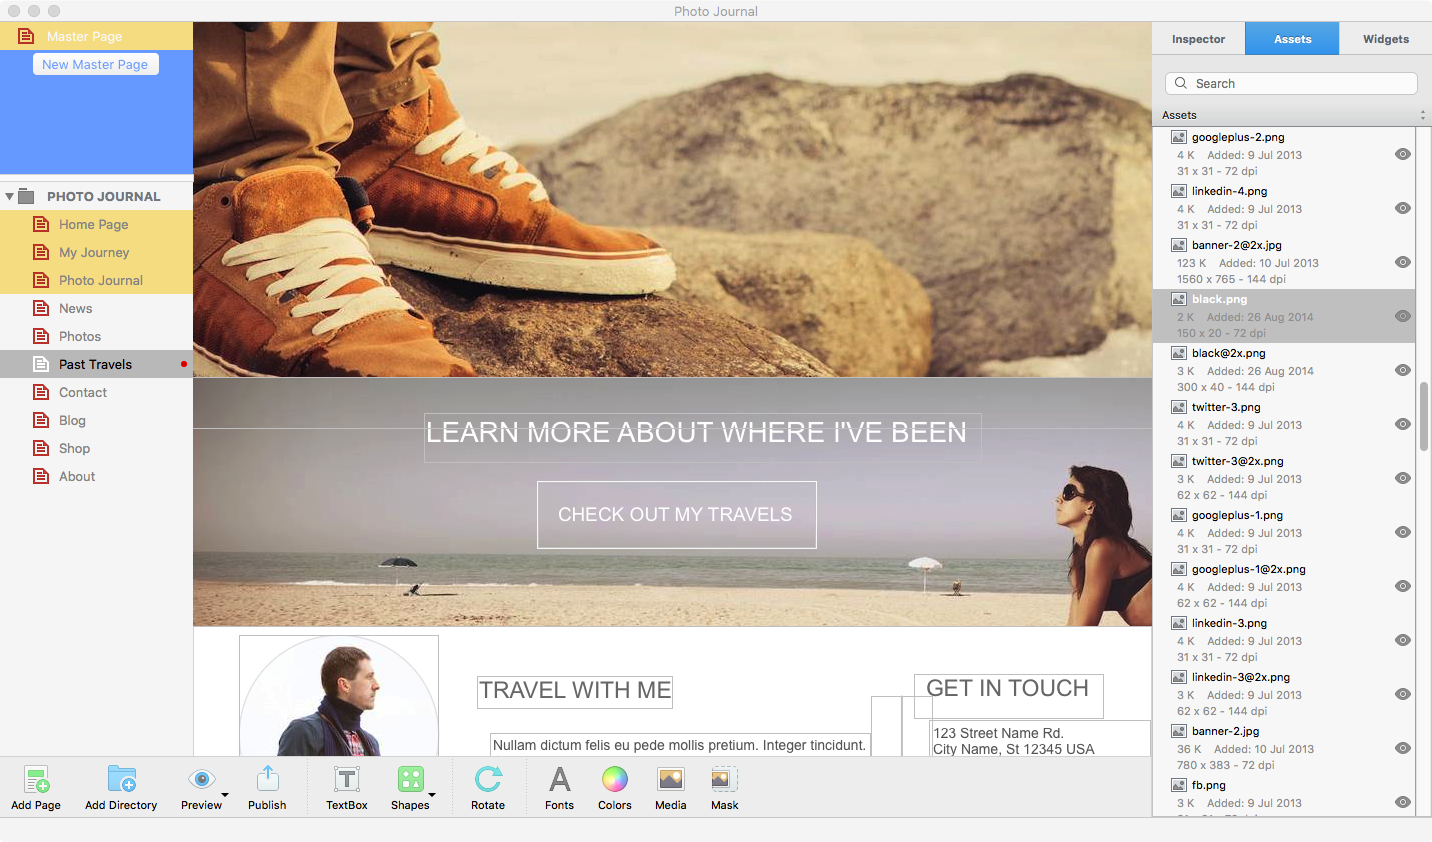
In the above screenshot, the asset ‘black.png’ has been searched for using ‘Find Pages Using Asset’. The highlighted pages in yellow show that the file is in use on both master pages and normal pages, so may be duplicated.
EverWeb also allows you to have a quick look at the image file itself using the Eye symbol to the right of the asset. This feature generates a ‘Quick Look’ view of the asset, which you can then view fully in OS X’s Preview program. Alternatively, to quickly preview an asset start to drag it out of the Assets List and onto the page. You will see a thumbnail appear as you do so. Drag the mouse back on to the asset again to finish this quick preview.
In summary, EverWeb’s Assets features provide quick and easy ways to search for your Project file’s assets, manage and maintain your website project, improve your workflow and have a website that remains lean with fast page loading times.


