What’s NEW in EverWeb 4.3: PayPal Modern, Justify Text, Scrollable Text and Much More!
December 3rd, 2024We are thrilled to announce the immediate release of EverWeb version 4.3 for macOS and Windows.
Which Version of EverWeb is for You?
EverWeb 4.3 is available to you on the following Operating Systems:
- If you are running Microsoft Windows 10 or 11.
- If you are running an Intel Mac running macOS High Sierra, Mojave, Catalina, Big Sur, Monterey, Ventura, Sonoma or Sequoia.
- If you are running an Apple Silicon Mac running macOS Ventura, Monterey, Big Sur or Sonoma, EverWeb will run natively without the need to use Rosetta 2.
Older Operating Systems can run the following versions of EverWeb:
- If you are running OS X 10.10 – macOS 10.12 (OS X Yosemite, OS X El Capitan, macOS Sierra) EverWeb 3.4.2 is for you.
- If you are running OS X 10.7 – 10.9 (Lion, Mountain Lion, Mavericks) EverWeb version 2.9.1 is available for you.
EverWeb 4.3 Includes…
[NEW] EverWeb for Mac is certified for use with macOS Sequoia (macOS 15.)
[NEW] The new PayPal Modern widget supports the new PayPal button API, enabling additional payment options.
[NEW] You can choose to use mini icon buttons for Layout and Settings in EverWeb-> Settings-> General in EverWeb for Mac, and Edit-> Options-> General in EverWeb for Windows.
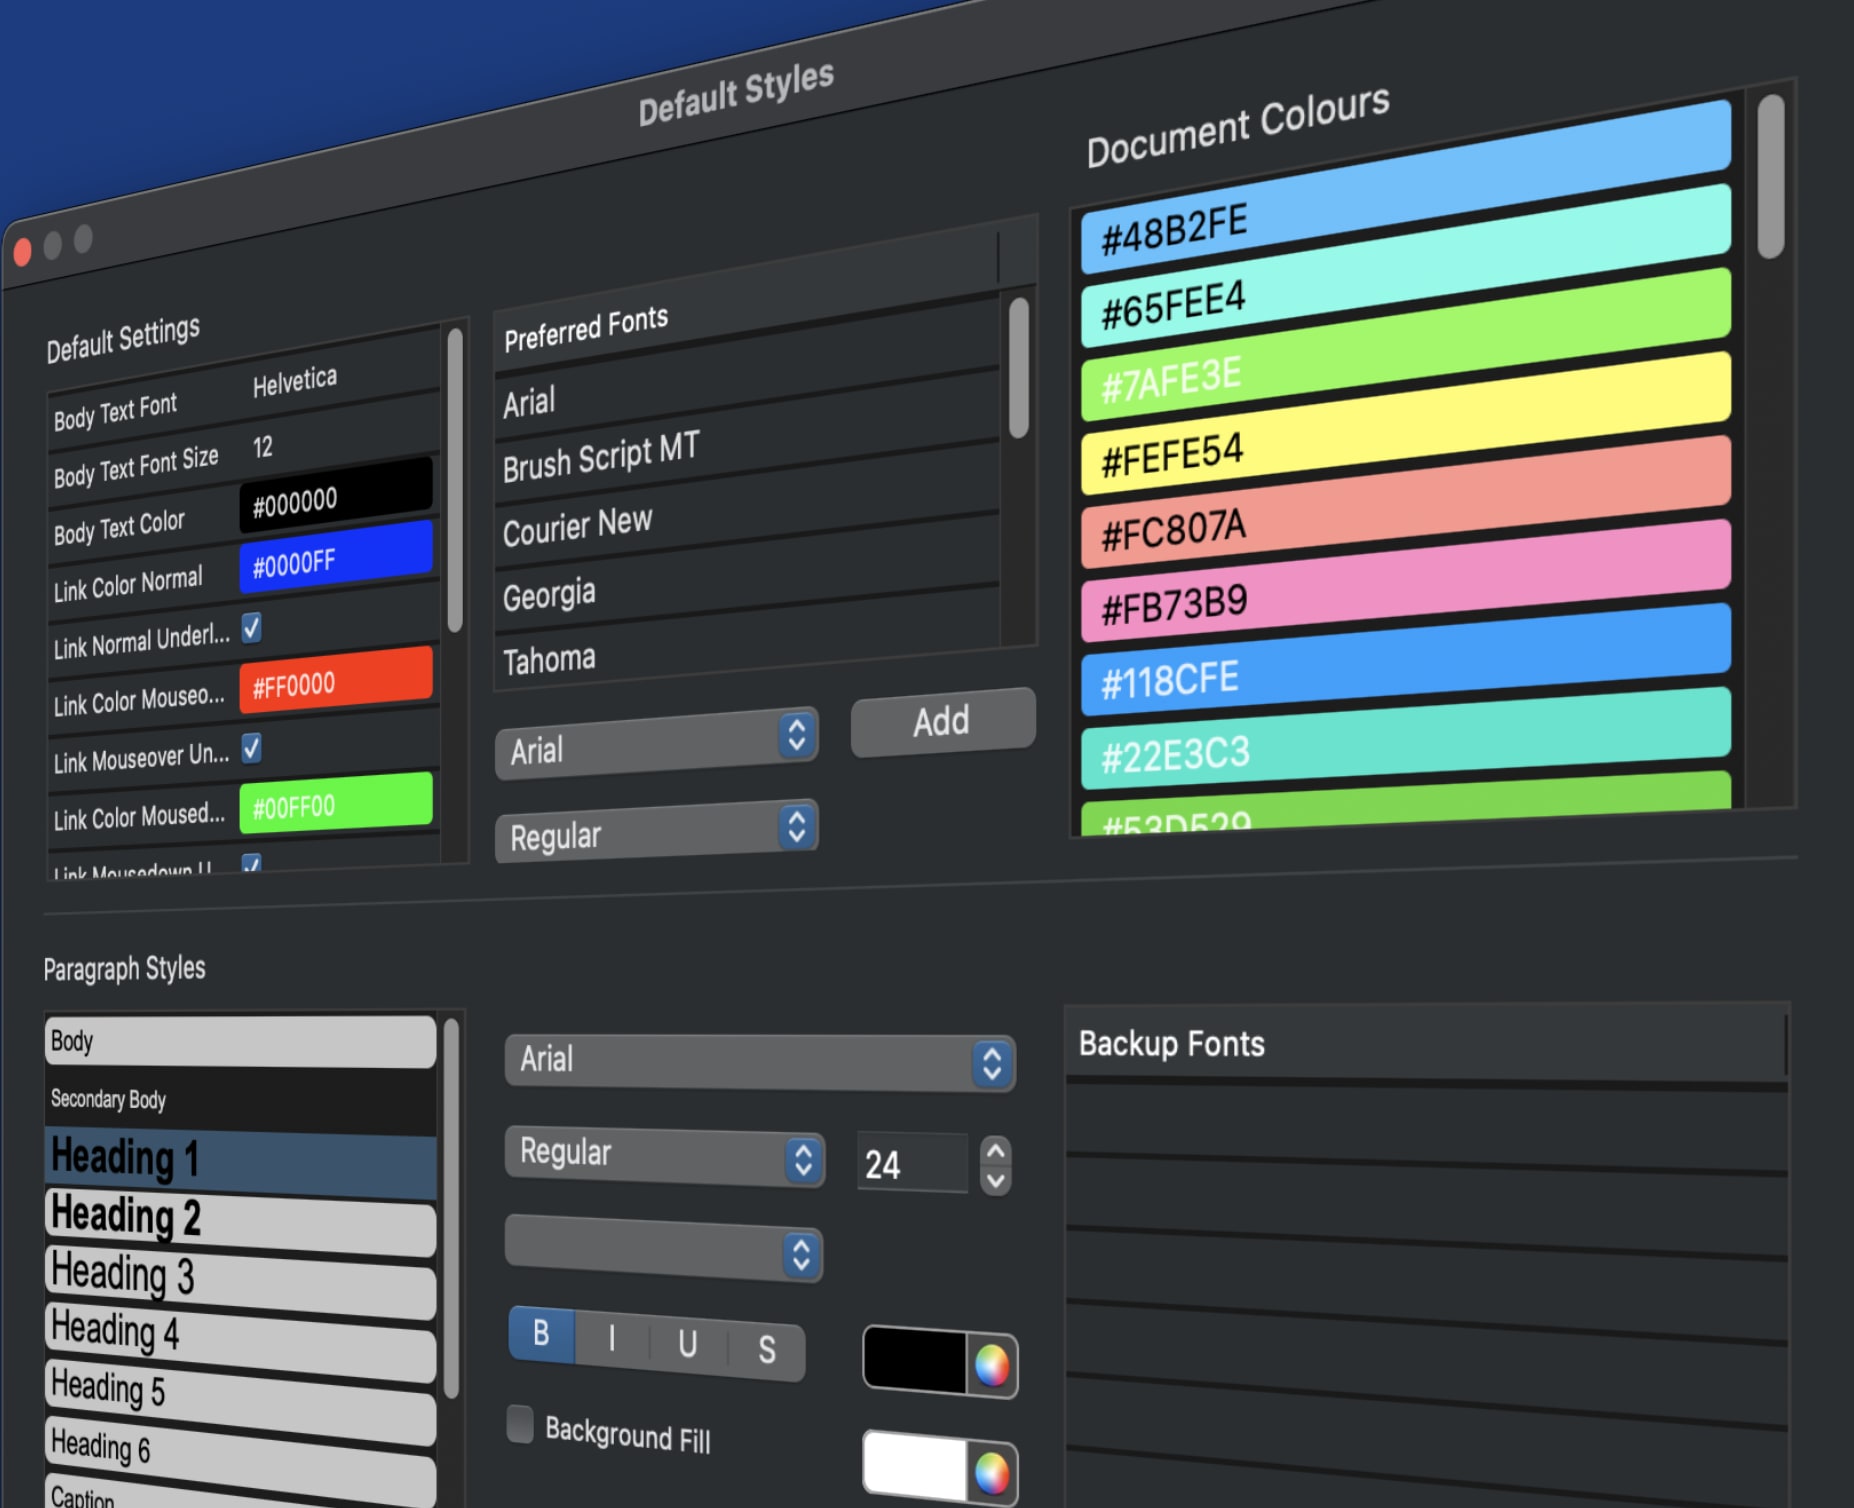
[NEW] Justify Text option in the Text Inspector.
[NEW] QR Code for Mobile Preview lets you easily preview your website on a mobile device by scanning a QR code.
[NEW] Fonts in the font dropdown list in the Inspector are displayed using their corresponding font style on macOS.
[NEW] AI Bot Control. Prevent AI bots from scanning and indexing your website content in the -> File, Edit Publishing Settings menu option.
[NEW] Customization options are available for the Block AI Bots feature. You can now edit robots.txt and .htaccess files directly from the Site Settings screen. EverWeb SEO Powerup Addon Required.
[NEW] You can now drag and drop stock photos to Inspector-> Shape Options-> Slide Show.
[NEW] TextBoxes now support scrollable text. If the text exceeds the height of the TextBox, visitors can scroll through the content. This option can be found in the Inspector->Text -> Export Options -> Scrollable Text.
[IMPROVED] Most of EverWeb’s built in widgets have been translated in to all the languages that EverWeb support.
[IMPROVED] EverWeb now strips some unprintable characters in image file names when importing assets.
[IMPROVED] Improved preview in Google Chrome browser.
[IMPROVED] Better font handling when switching projects from Mac to Windows.
[FIX] Fixed issues with the spell checker on Windows.
[FIX] Fixed images getting distorted in some widgets.
[FIX] Fixed a line spacing issue with lines with no text in text objects.
[FIX] Fixed EverWeb SiteShield Add On validation when publishing to a third party website.
[FIX] Incompatible characters are now properly stripped from image file names to prevent loading issues during publishing.
[FIX] Fixed an issue with Global Styles used in lists in blog posts.
[FIX] Fixed issue with the backslash (“\”) character in blog posts.
[FIX] Fixed an issue with moving all objects below the selected object by holding the Control and Shift keys on Windows while dragging an object.
[FIX] Fixed an issue with Image Galleries not being clickable on preview and the pagination when the pagination is left aligned.
[FIX] Fixes some issues with the Navigation Menu widget.
[FIX] Fixed issues with Animated GIF widgets so they work properly on publish.
[FIX] Fixes an issues where icons were not showing in the Image Gallery widget.
[FIX] Fixes an issue when exporting TextBoxes that include line breaks.
[FIX] Fonts appear properly when creating a new website.
How To Update EverWeb for Windows
You can easily update EverWeb for Windows by either:
- Launching EverWeb then opening a project file. From the Help menu at the top of the screen select ‘Check for Update’ or by
- Downloading EverWeb from the EverWeb website.
After downloading EverWeb, double click on the EverWebSetup.exe file. Note that the file name may have the version number appended to it and that you may need to initially trust the file to be able to download it.
Follow the instructions in the Installation Wizard until the installation is finished. You can delete the EverWebSetup.exe file afterwards by dragging it to the Recycle Bin.
How To Update EverWeb for macOS
You can easily update EverWeb for macOS by either:
- Launching EverWeb then going to the EverWeb menu at the top of the screen and selecting ‘Check for Update’ or by
- Downloading EverWeb from the EverWeb website.
After downloading EverWeb, double click on the EVERWEB.DMG file. A window will open. Drag the EverWeb icon on to the Applications folder icon.
Once the file has been copied, you can close the installation window, delete the .DMG file and eject the EverWeb disk on the desktop by dragging it to the Trashcan.
About Your EverWeb Update
Remember, you won’t lose any previous data when updating as your website project files are stored elsewhere on your computer.
The update is free for EverWeb + Hosting users and EverWeb Standalone users who are within their 1 year of free upgrades and support period.
You can easily check your EverWeb update period from your EverWeb-> Preferences… window on macOS, from your Edit-> Options menu on Window,s or from your client area.
If you have passed your one year of free EverWeb updates, you can purchase 1 more year of upgrades and support from your Client Area.
You can easily re-download earlier versions of EverWeb from your client area if you are not ready to purchase an additional year of updates and support.
Login to your Client Area and go to the ‘Manage Product’ page. On the left of this page, select ‘Downloads’ and choose the version of EverWeb that you need.
More Information About EverWeb
For more information about the new version of EverWeb, please check out the following resources:
- The EverWeb website which has up to the moment information in its blogging section.
- New EverWeb videos on YouTube.
- The EverWeb User Manual in EverWeb’s Help-> User Manual menu.
- The EverWeb Discussion Forum.
If you can’t find what you need, or have any other questions, comments or feedback please let us know.