Testing Web Pages on Mobile Has Never Been Easier Than With EverWeb Preview QR Code!
Thursday, January 23rd, 2025
Testing your EverWeb made website before you publish it to the Internet is one of the most important tasks you may have to do in your website building journey! The main reason for testing your site before publishing it is so that it is polished, reliable and user friendly. The best way to get all of those three aims checked off is through good design and thorough testing.
In EverWeb you have its Preview feature in the Toolbar which allows you to preview your site to popular web browsers such as Chrome, Firefox, Safari and Opera. This is all fine if you are working on your site on a desktop. As most people access web browsers from their phones, this is now probably the most important device type that you will want to preview your site on.
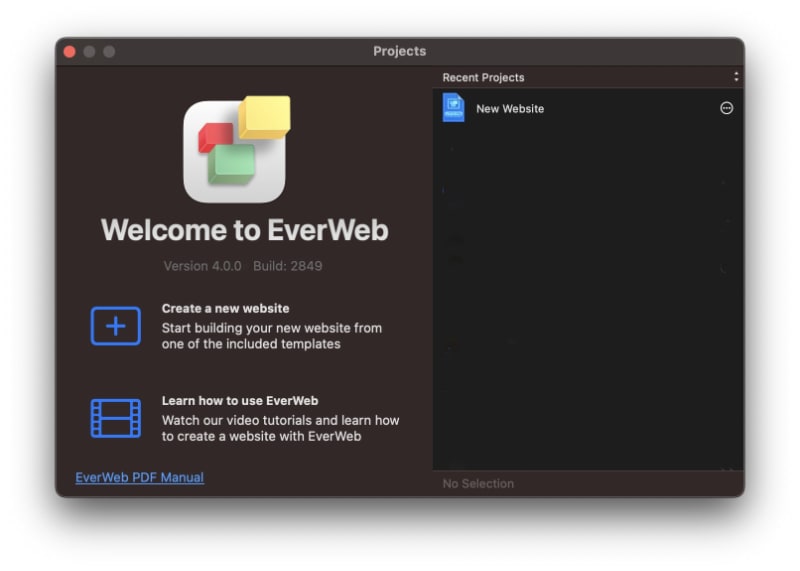
EverWeb 4.3 for macOS and Windows, now gives you an easy way to test your site on a mobile device with its new Preview QR Code feature. Although this is ideal for testing on a phone, it is also just as useful on a tablet device as well. And as you would expect, it is EverWeb easy to use!
Using Preview QR Code
All you need to get started with using Preview QR Code is EverWeb 4.3, or higher, for macOS or Microsoft Windows, an app that can scan QR Codes and of course, browser software on your phone or tablet. On your phone or tablet, Preview QR Code will support your default browser.
Now all you need to do in EverWeb is to go to the page in your website’s project that you want to preview and click on the Preview button in the Toolbar. From the dropdown list of browsers, choose the Preview QR Code option. EverWeb will generate a QR code on screen for you. With your phone or tablet, scan the code with your QR Code Reader.
You will now see a preview of the page as to how it will look on a mobile device.
Testing Your Site Using Preview QR Code
When testing your website on a mobile phone before publishing, you should ensure it provides a seamless and functional experience for mobile users. Here’s what to look out for:
1. Mobile Responsiveness
Confirm that your site adjusts correctly to different screen sizes and orientations (portrait and landscape). If you are site uses a Centered Layout, make sure that you have both desktop and mobile page counterparts set up and linked together before previewing.
If you are using a Responsive page, you may find that the page is too wide for the phone. If this is the case, check out our video on ‘Horizontal Page Drift‘.
In addition, check that elements like images, buttons, and text scale properly without overlapping or cutting off and also make sure that you have left enough left and right margins. If you need to add these in to your page, change the left and right margin values in the Metrics Inspector.
2. Navigation Usability
Test menus and drop down menus to ensure they are intuitive and easy to use on smaller screens. Also do not forget to verify that touch targets such as buttons and links are large enough to tap comfortably without accidental clicks, and that the links work correctly.
3. Page Load Speed
Ensure pages load quickly on mobile devices, even with slower internet connections. If you have a problem with page loading speed, optimize your images, and use Lazy Loading on them in the Metrics Inspector.
4. Text and Font Readability
Check that the font sizes, colors, and spacing you have used allow the text to be easily readable without the need for the visitor to have to zoom in. As such avoid small fonts and remember that the text should contrast well with the page background background.
5. Media and Content Behavior
All of your images, videos, and other media should display correctly and do not overflow or appear distorted. As you are testing on a mobile device, remember to test interactive elements such as sliders, and carousels to make sure they work properly on touch devices.
6. Form and Input Fields
Test your forms, such as those you can create with EverWeb’s Contact Form Advanced widget for usability, ensuring that any input field is easy to access and fill out. Also check that any validation that you built in to your fields works as you expect.
7. Compatibility Across Devices and Browsers
Although it may seem tedious it is important to remember to test your site on different mobile operating systems (iOS, Android) and on a variety of browsers (Chrome, Safari, Firefox, etc.). You should find that all core features of your site are consistent across all platforms.
8. Touch Gestures and Interactivity
Test swipe, scroll, pinch-to-zoom, and other touch gestures for proper functionality. Check whether interactive elements like accordions, tabs, and modals work well with touch input.
Using EverWeb’s new Preview QR Code feature together with a proper testing plan will guarantee you a polished, user friendly site that loads quickly!