How EverWeb Keeps Visitors Interested In Your Site: Part II
Thursday, October 31st, 2024
In the first part of this blog, How EverWeb Can Keep Visitors Interested in Your Site, we looked at how you should prepare before going live with your EverWeb made website. We also looked at how to create an SEO strategy so that your website’s chances of being found on the Internet are the best that they can be. In this second, concluding part, we look at things that you can do in EverWeb from a design and content approach that will help keep visitors interested in your site.
Create and Maintain a Dynamic Landing Page
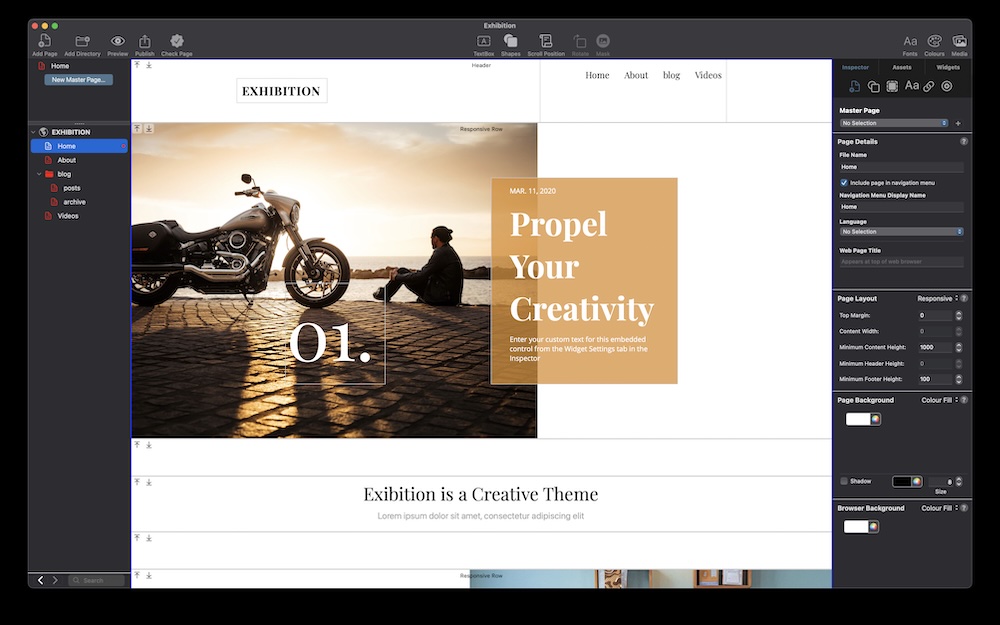
Perhaps the most important page of your website is the Landing page, also known as your site’s Home page. This page, typically, will be the first page which new and returning visitors will access. So, it is important to keep it up to date. For example, anything that is time sensitive should only be on the landing page whilst it is relevant. If you have, for example, an event on your page that is three years old, chances are that your visitors will think that your site is no longer active and may stop visiting you!
New Content Creation Is Important for SEO
Adding new, fresh content to your website is an important ingredient in keeping visitors coming back to your website. Use the Home page of your site to highlight what is new and trending. Updating at least the Home page of your website on a regular basis is a simple, effective way of telling your visitors that your site is active and alive and kicking! How many websites do you know of that are not updated for years? If you are selling goods and services on your site, this is doubly important.
When creating content for the Home page of your site, make sure your message is clear and simple, typically with only one objective in the message. Clear and simple is always best. Avoid just updating your Home page just for the sake of it, and whilst using SEO Keywords on your Home page is great, do not sacrifice your content for the sake of SEO.
Blogging – Is It For You and Your Audience?
One great way to add new content is to add a blog to your site. This can become a tool that will hook your visitors on your site if you add content that is fresh, relevant and interesting to your audience. A regular blog is something of an investment and it is not for everyone but if it is right for your audience then it is worth trialling.
Remember To Keep EverWeb Up To Date!
One other vital factor in keeping visitors interested in your site is to keep EverWeb up to date. In addition to maintenance and stability releases, major point version releases of EverWeb will bring new features, or enhanced existing features, for you to use. EverWeb usually gets three to four major point releases throughout the year so don’t get left behind!
Consider Revamping Your Site From Time To Time
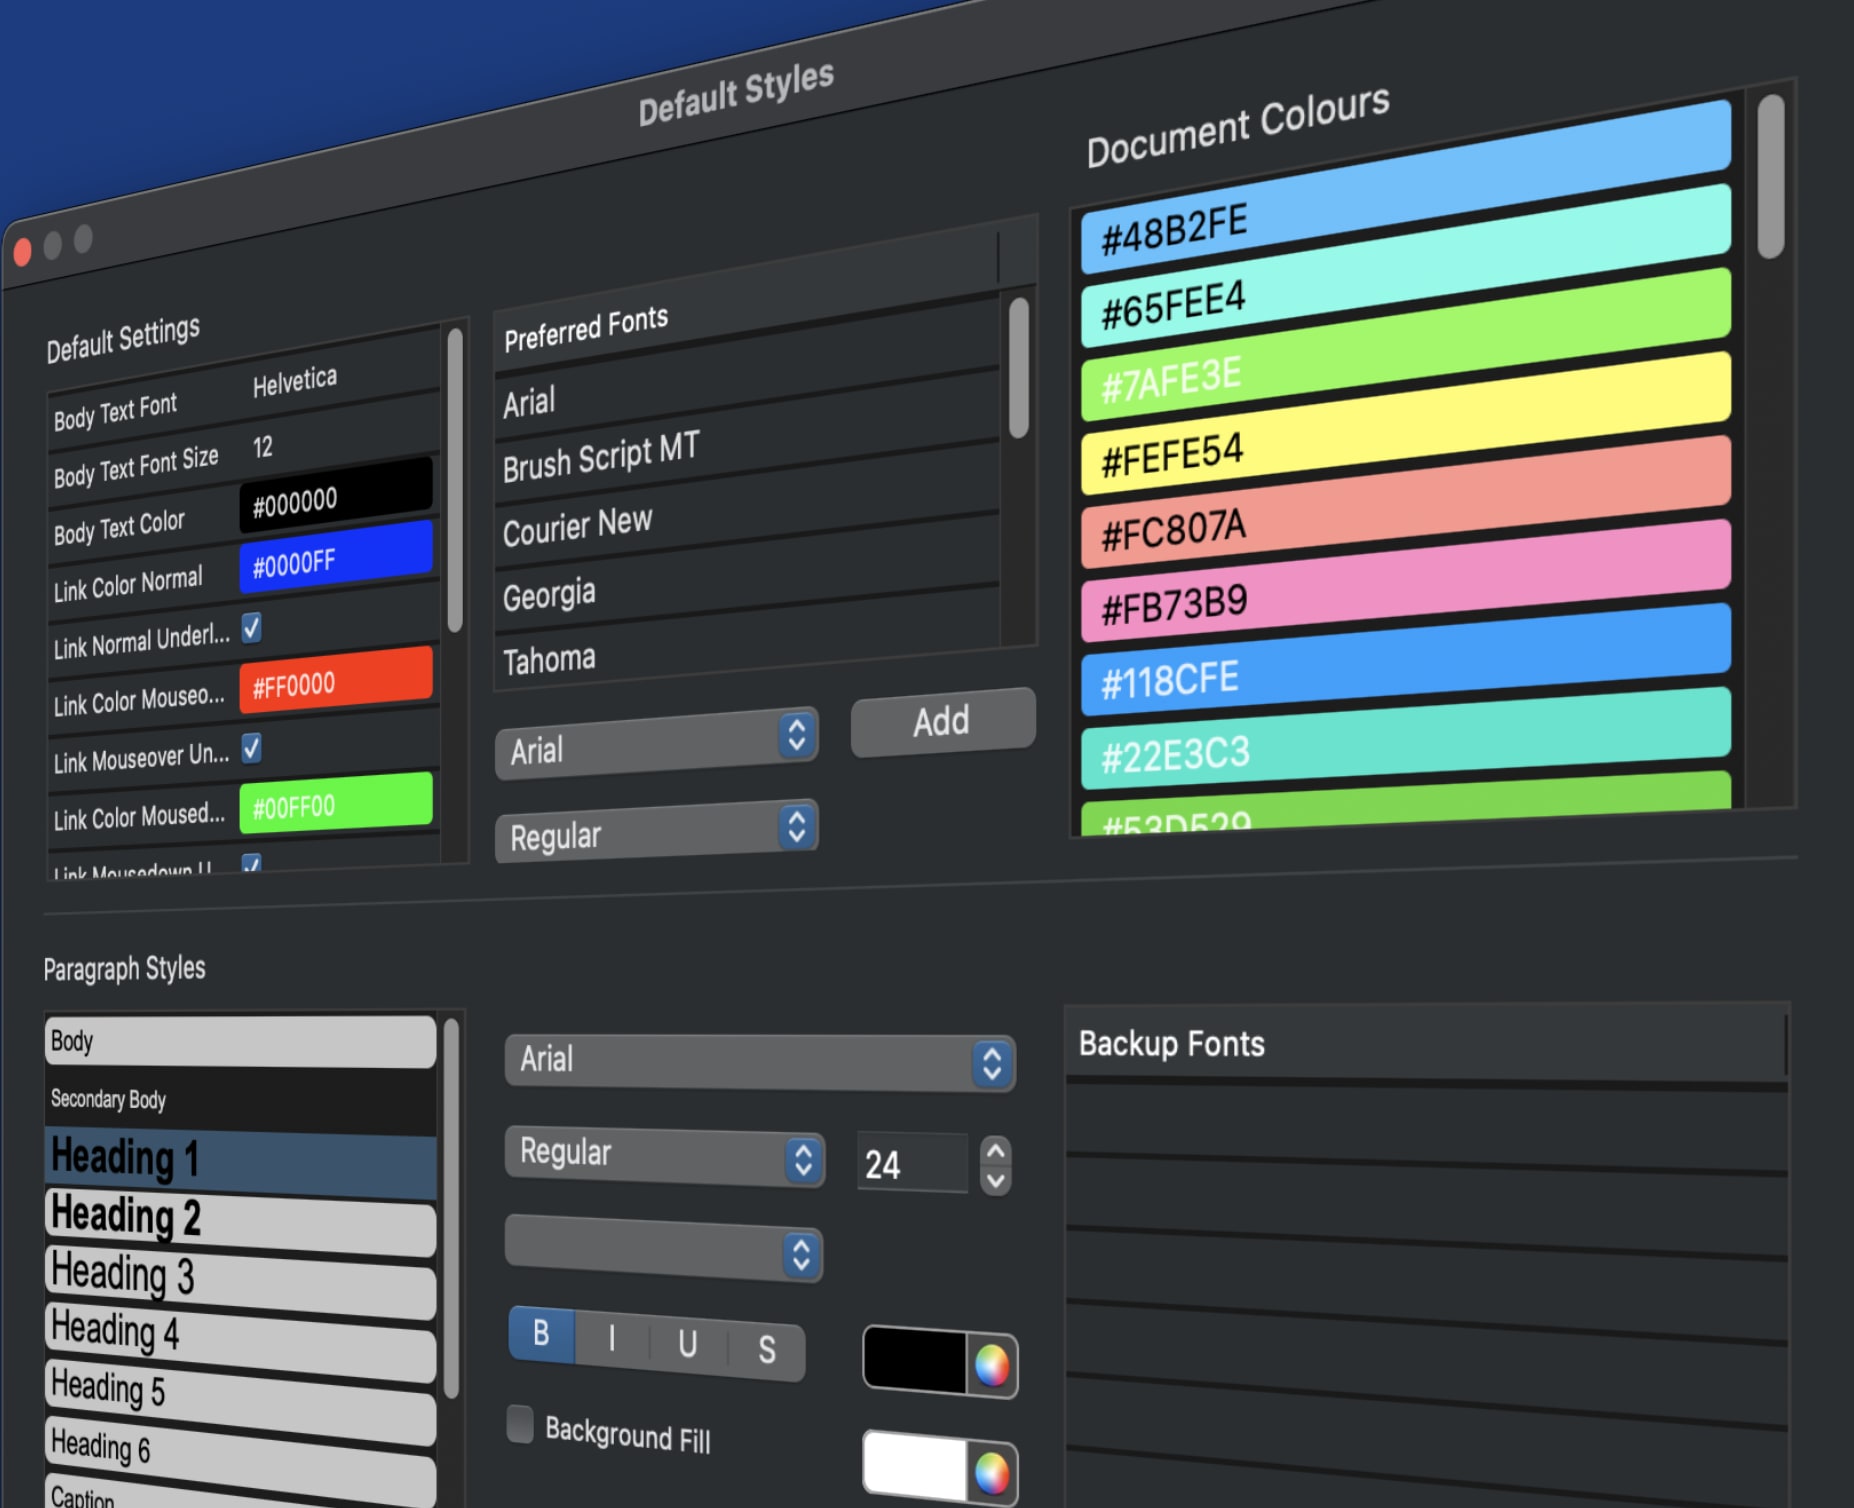
Sometimes keeping your visitors interested in your site can just come down to revamping your site from time to time. Changes in colors, fonts and layout can have a huge impact – both positive and negative – so figuring out what works for your target market is important. When it comes to design in EverWeb, remember to use Paragraph Styles in all of your pages. We also recommend that you assign Document Colors to your site as well. When it comes to revamping your site, you only need to update your Paragraph Style and Document Color defaults which will then ripple throughout your site, saving you lots of time and effort!
Spreading the Word About Your Website
One of the best ways of getting more traction to your website is by spreading the word through social media such as Facebook pages, Instagram, Pinterest, LnkedIn and other social media platforms that are appropriate to your business, or interest group. Linking your website’s content to social media is a good way of keeping visitors and customers informed and up to date about your site and business.
Remember as well that social media is not for everyone either, again think of what best suits your audience. For example, including an email newsletter sign up Contact Form in your website. Creating a regular newsletter may be a better alternative to social media and blogging for some audiences. If you choose to go the newsletter route, you can use EverWeb’s Contact Form Enhanced addon to manage the contact forms that are submitted to you from the Contact Form Advanced widget.
Keeping Visitors Interested: Final Take Aways…
There are a number of different tools within EverWeb that you can use to help keep your website live and fresh to your current visitors as well as potential new visitors. If you run a business over the Internet, remember that your website is your calling card so needs attention!